We Raised Our Queenslander 11 Feet
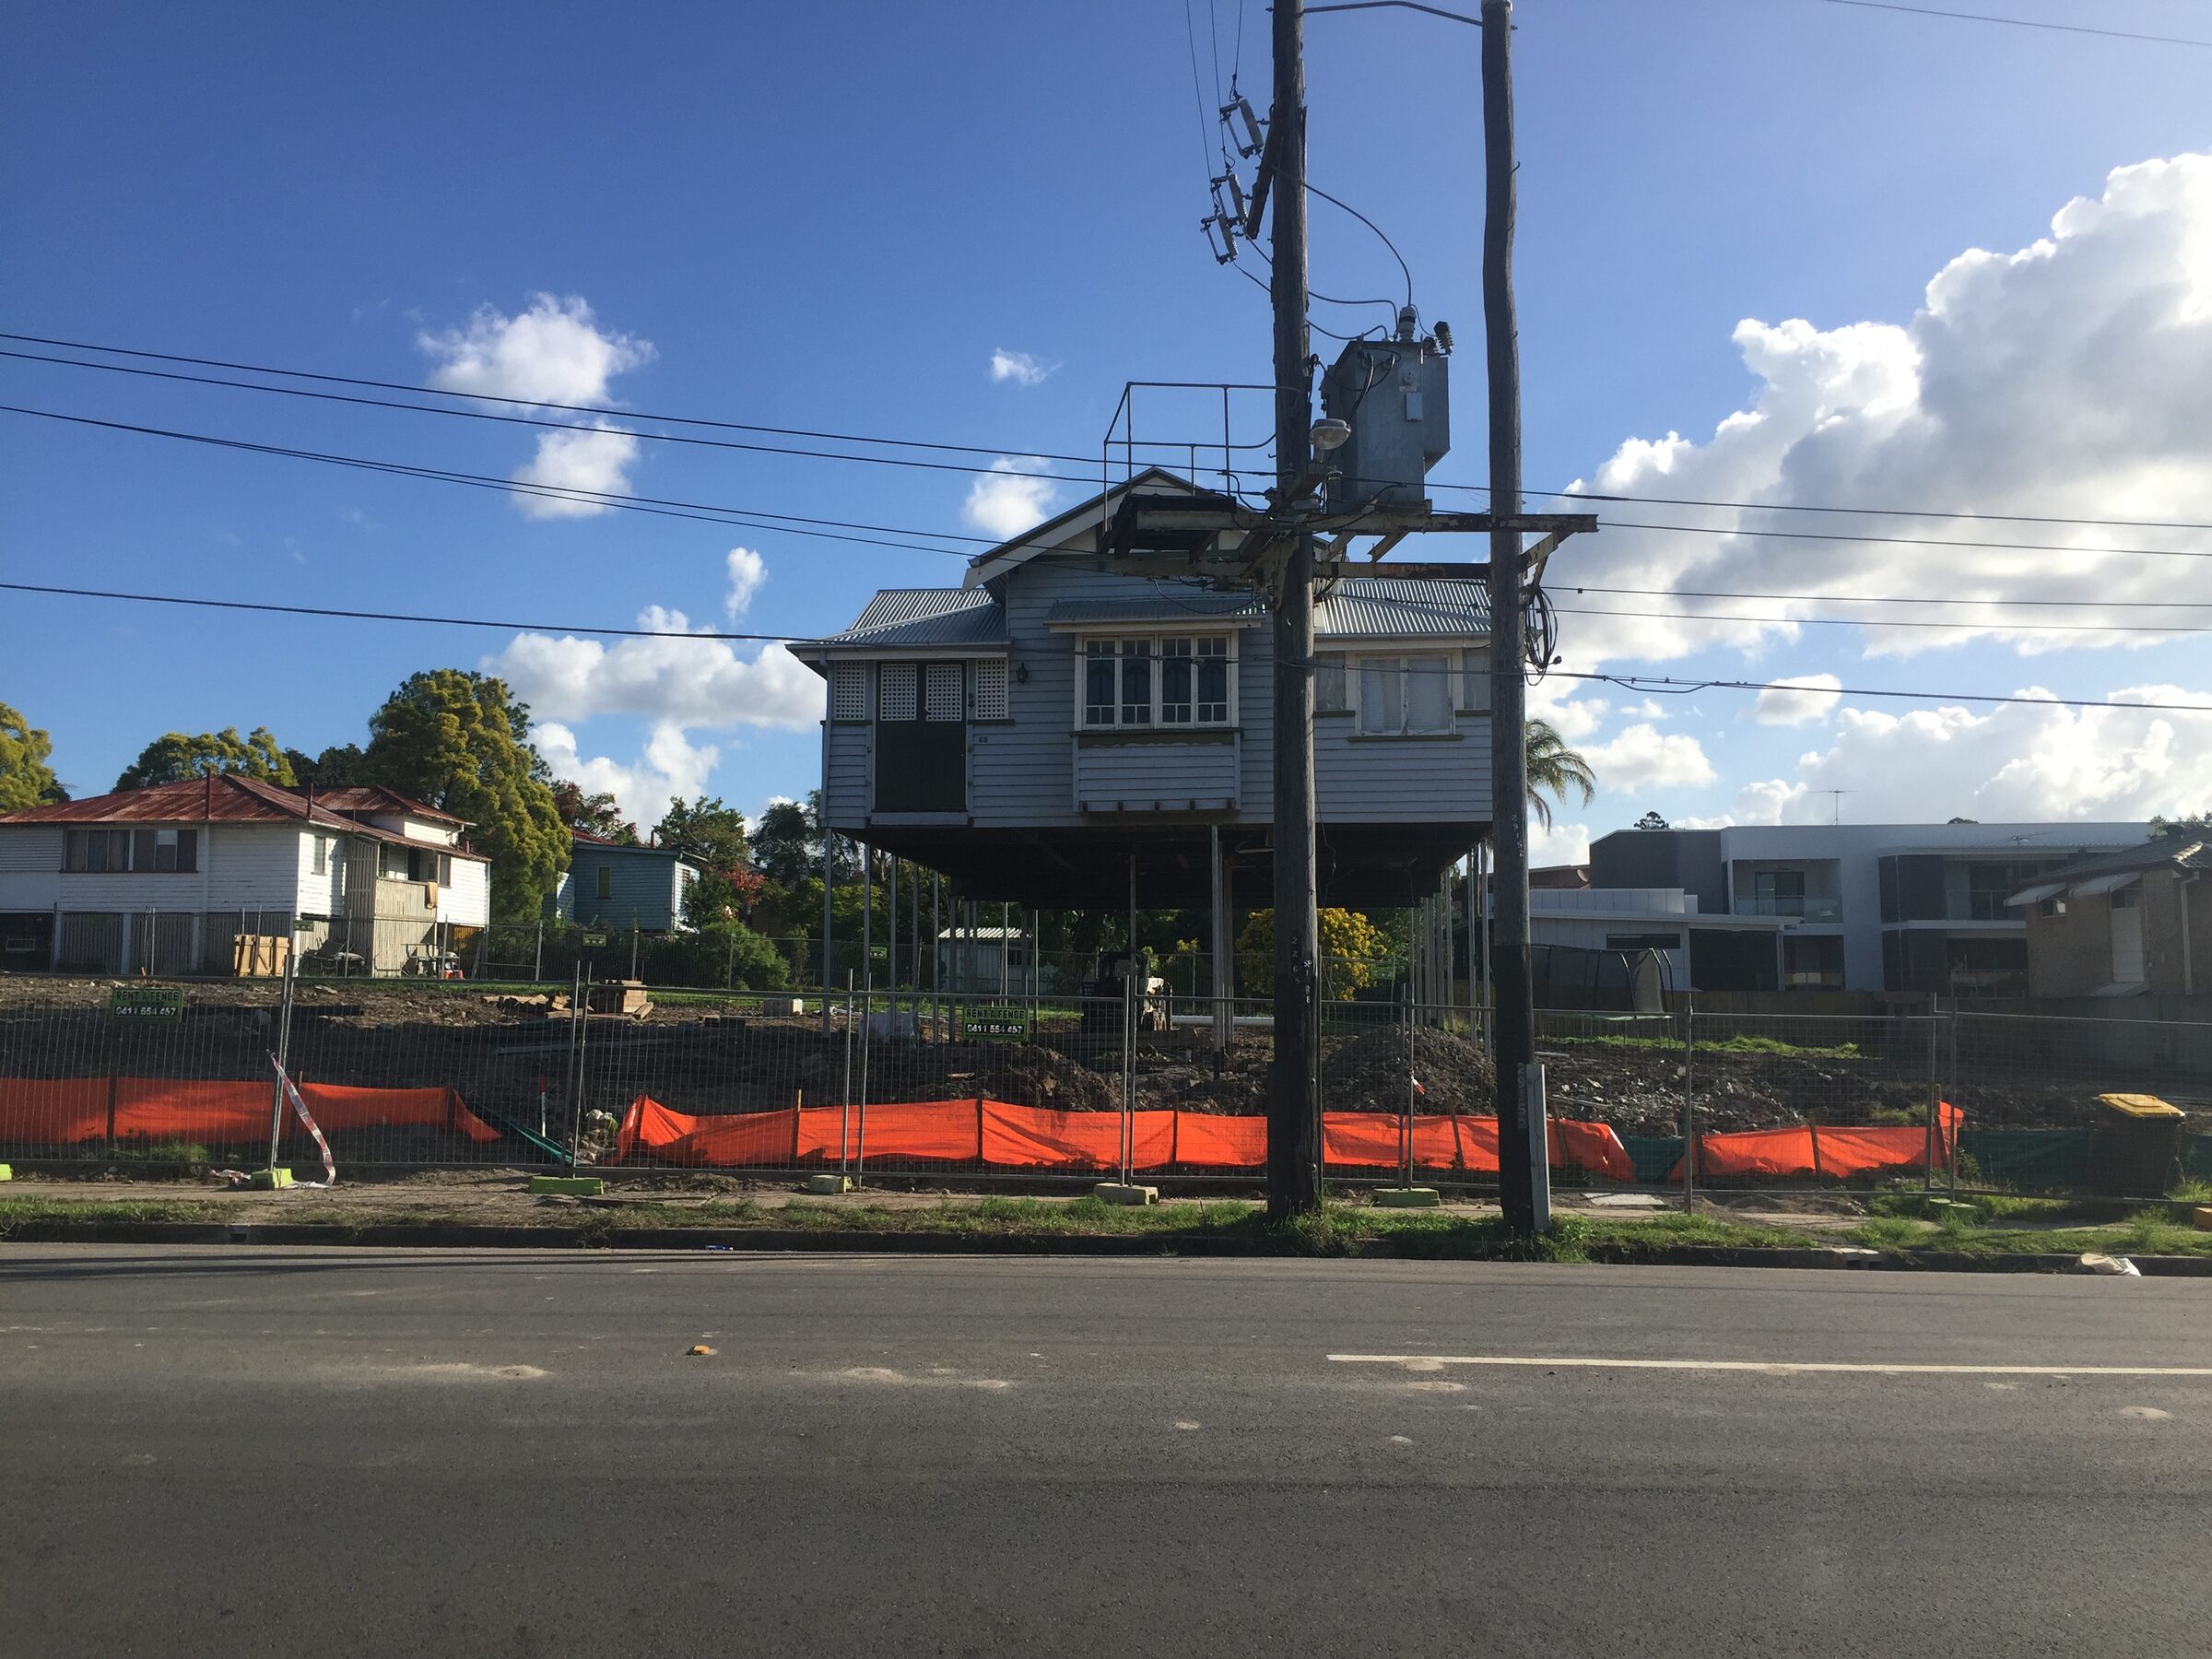
The day they raised the house, I stood on the footpath and watched it climb about thirty centimetres an hour. There is no fast way to lift a hundred-year-old Queenslander, so the whole thing plays out at walking pace over a full day.
The raiser had jacks positioned at around thirty points under the floor - steel and hydraulics disappearing up into the underside of a hundred-year-old house - and the whole thing came up together, slowly, with a long groan of old timber each time he cycled the system. The neighbours came out and a couple of people stopped their cars. By mid-afternoon the bottom of the floor joists were level with the top of my head, and by the end of the day I could walk underneath without ducking.
We raised it to 3.35 metres under floor level, which is just over eleven feet.
Most Queenslander build-unders aim for 2.4 to 2.7 metres - enough for a liveable room, a standard-height ceiling and code compliance. We went higher, and this article covers why we did and what it meant for everything that came after.
The decision to go to 11 feet
The house sits on a block with a slight fall from front to back. When we first had the structural engineer out, he modelled a few scenarios. At 2.4m under floor level, the slab would need significant cut-and-fill at the rear to keep the level consistent - and we’d still end up with rooms that felt slightly tight. At 2.7m it was comfortable, but unremarkable.
At 3.35m - eleven feet - something changed. The ground floor would feel like a ground floor, not a converted subfloor, with standard door heights, decent ceiling fans with clearance and natural light coming in at the right angle. And critically, the rear of the block would work without major excavation.
The engineer’s advice was that going to 3.35m was achievable with the existing structure, but it would change what he needed to specify. A higher raise meant more moment at the connection points between old bearers and new subfloor framing. The temporary works (the jacking system) would need to account for the additional travel, and we’d need longer stumps, which meant different stump sizes and added cost.
We ran the numbers. The premium for going from 2.7m to 3.35m was around $8,000 across the raise, structural engineering and the subfloor. For a permanent gain in liveability and ceiling height, it wasn’t a hard call.
The raise: specs
- Final height under floor level
- 3.35 m (11 feet)
- Previous height
- ~0.6 m (on original stumps)
- Total rise
- ~2.75 m
- Jack positions
- ~30
- Raise duration (to full height)
- 1 day
- Temporary support period
- 11 days
- Permanent subfloor installation
- 6 days
- Total raise-to-lower duration
- 18 days
- Raise contractor cost
- $42,000 (incl. engineer)
What the structural engineer had to specify differently
Going to 3.35m is not simply the same raise carried higher. The engineering behind it changes at several points, and those changes are worth understanding before you commit to the height.
The primary concern at increased height is lateral stability during the temporary works phase. When the house is suspended at eleven feet on a steel crib system, the centre of gravity is higher relative to the base than it would be at 2.7m, so wind becomes more of a factor. The engineer specified temporary diagonal bracing between the crib stacks that wouldn’t have been required at a lower height.
The permanent subfloor also changed. The new steel columns (RSJs) that form the permanent support at the perimeter were specified at a heavier section than they would have been for a lower raise. The bearer connections to those columns were bolted, not just nailed - engineered timber connectors specced to handle the increased moment.
None of this is particularly alarming - the engineer was confident in the design. It’s the kind of thing that gets resolved in the documentation before anything moves, but it’s worth knowing that height has structural implications beyond the cost of a longer stump.
Raise day
The raiser arrived at 6:30 in the morning with a truck that looked too small for the job and a crew of three. By 7am they had the jack positions marked and were sliding the hydraulic equipment into place.
The sequence was this: jack positions identified and set, a test lift of about 50mm to check everything was bearing correctly, then a slow rise in increments of around 100mm at a time, cycling through all the jacks on each pass. Each cycle took about fifteen minutes. The house rose, the timber groaned and the operator walked around checking each point before the next cycle.
A few things worth knowing about raise day:
It is slower than you expect. We knew it would take all day, but knowing that and watching it are different things. The incremental nature of it - the waiting between cycles - tests your patience. Don’t plan to be elsewhere.
Something will crack. About halfway up, there was a sharp crack from inside the house - like a gunshot. The raiser barely looked up. An old plaster cornice had separated from a wall. This is completely normal, because old Queenslanders are flexible and were built to move. The raiser had seen it hundreds of times. What you’re watching for is anything structural - a bearer splitting or a jack position sinking - and there was none of that.
Access to the house stops. Once the house is off its stumps and rising, nobody goes inside. This is obvious in retrospect, but worth planning for - get everything you need out beforehand.
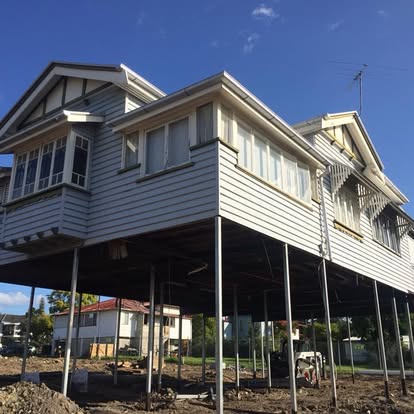
By 4pm, the house was at height. By 5pm, the temporary crib system was in place and the jacks were out. We walked underneath for the first time.
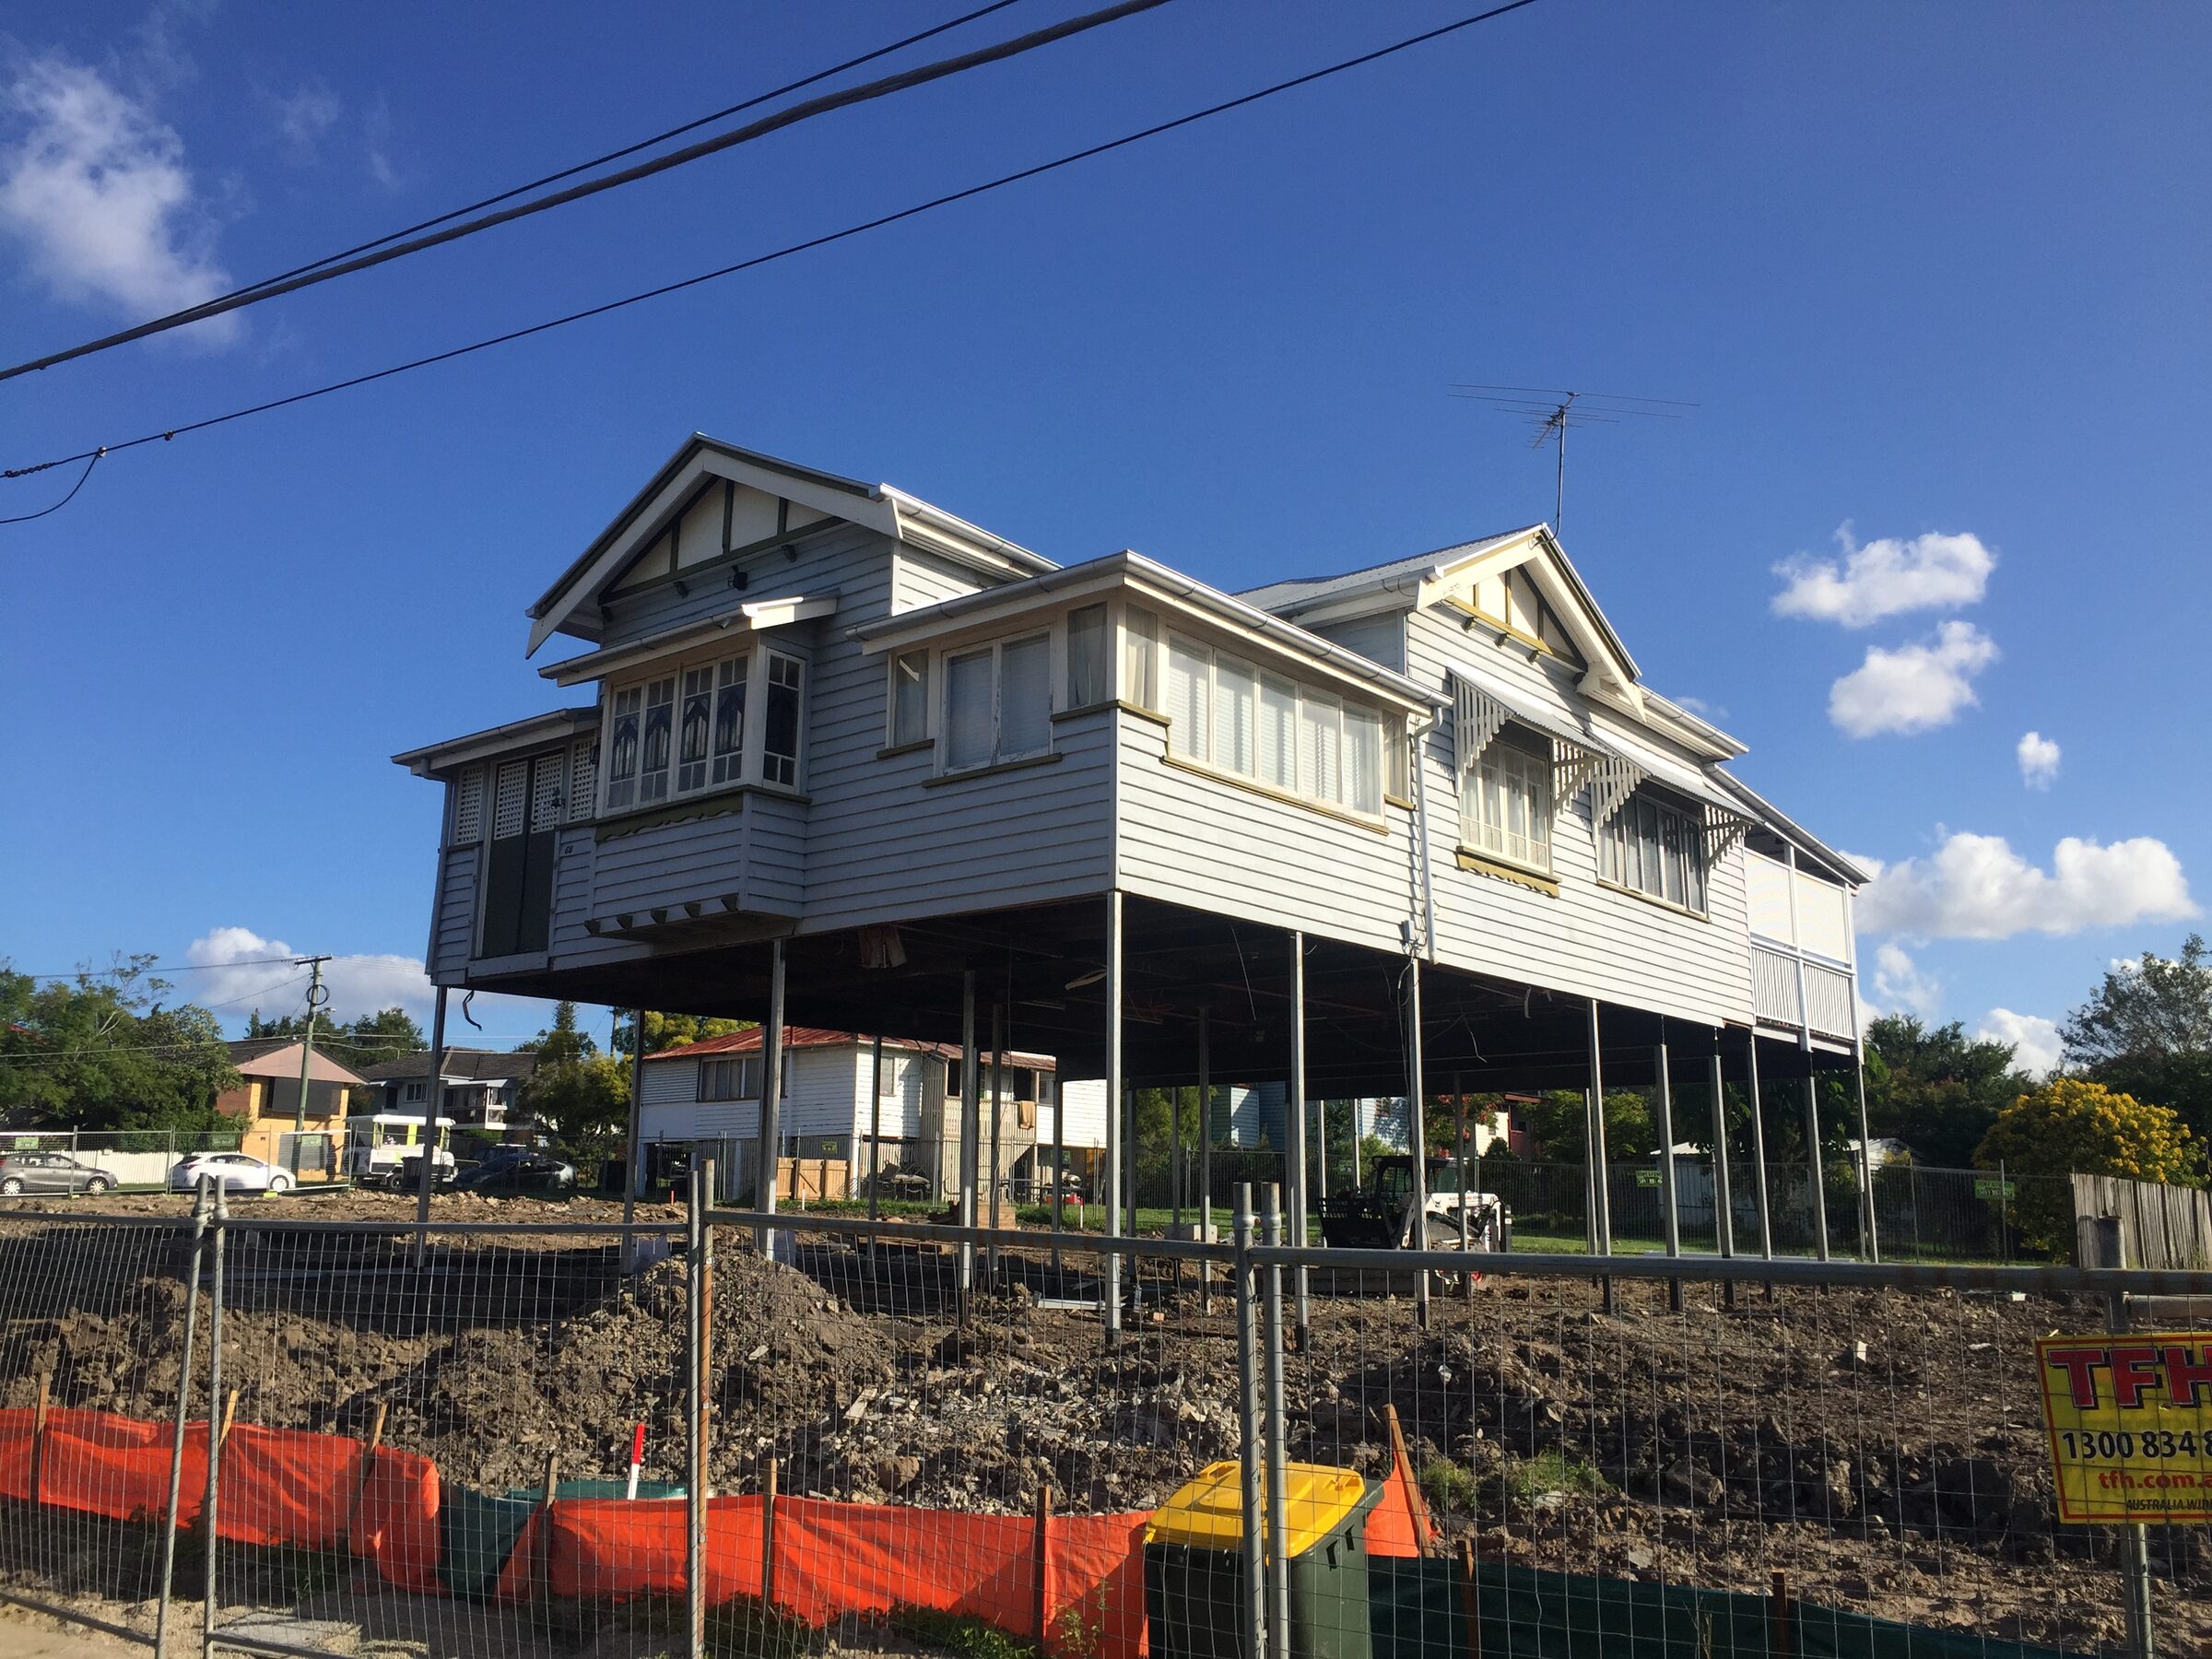
Standing under 11 feet of floor
There is a moment, after the dust settles on raise day, when you walk underneath the house and look up. You are standing on bare earth - the original ground level, now exposed - and above you is the underside of a hundred-year-old timber floor: the joists, the bearers and the old subfloor boards, some of which date to the original construction. There is a musty smell of old timber and disturbed soil, the light is dim and the space feels enormous.
At 3.35m there’s no ducking, no crouching. You can stand anywhere and look up at full arm’s reach and still not touch the joists. The scale of it - the house you’ve been living in, suspended up there - is strange and impressive.
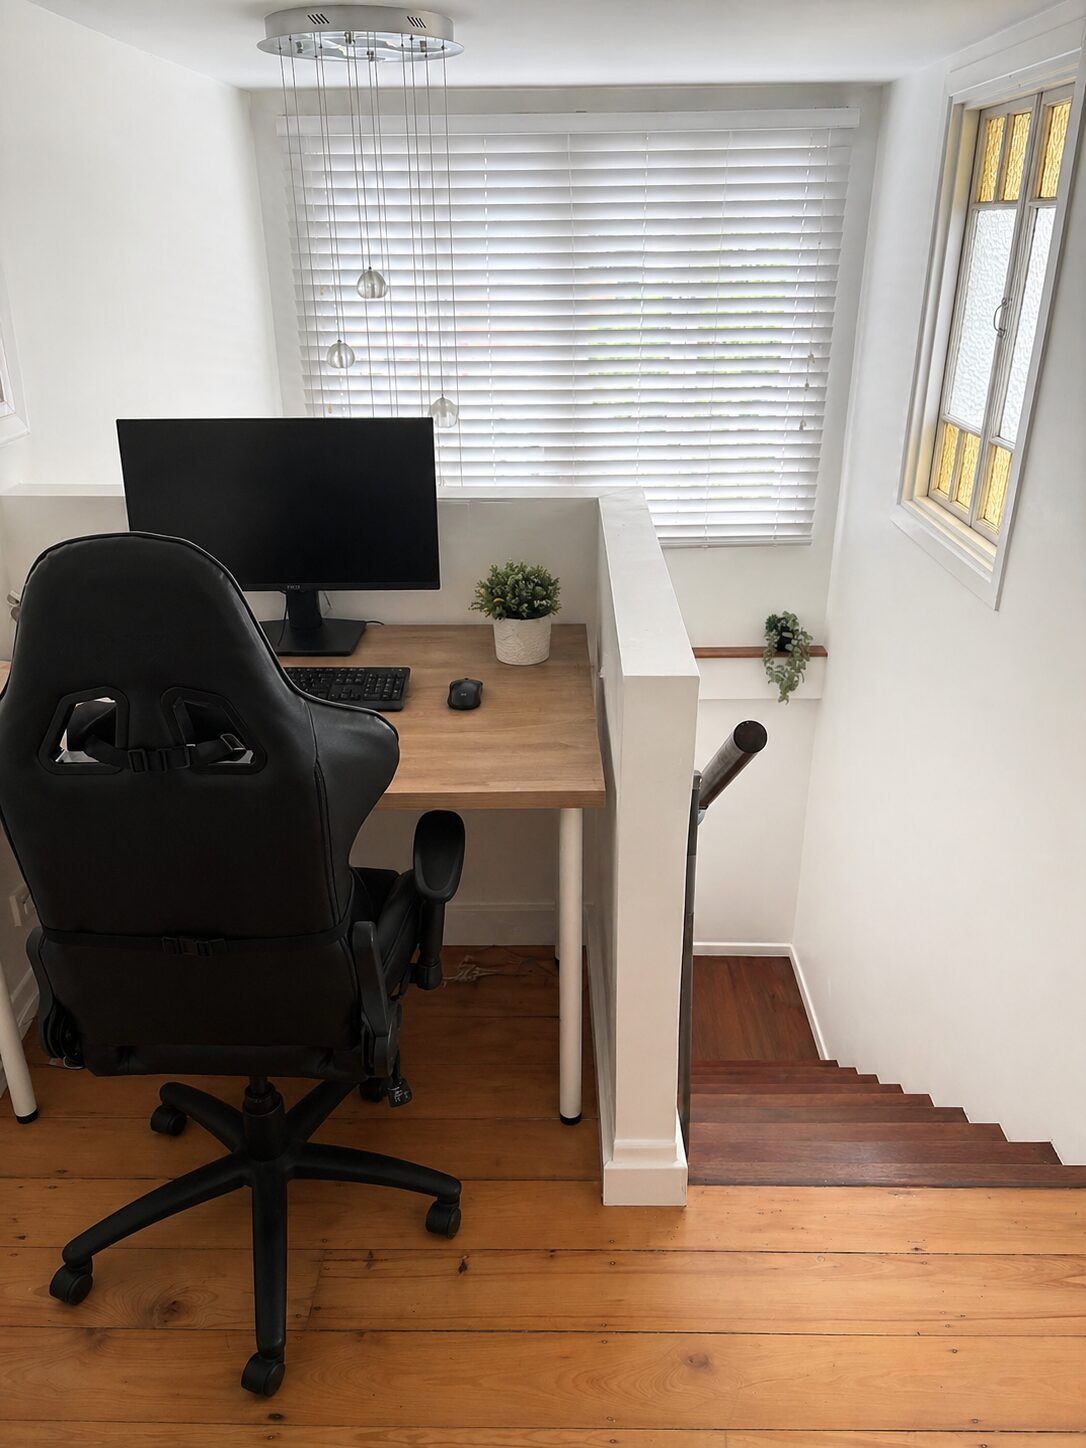
What you’re also looking at is the potential of the space. The ground floor, when built, will have those 3.35m ceilings not as a design statement, but as the practical result of the structural decision. When we bring the slab up to finished floor level and account for the ceiling and services void, the finished internal height will be around 2.9m, which is a genuinely generous ground-floor space.
Building underneath
The build-under began in earnest about three weeks after the house was lowered onto its permanent subfloor. By then the extra height had already started to shape the work, in ways that went well beyond the raise itself.
A few things that 11 feet of height changed about the build:
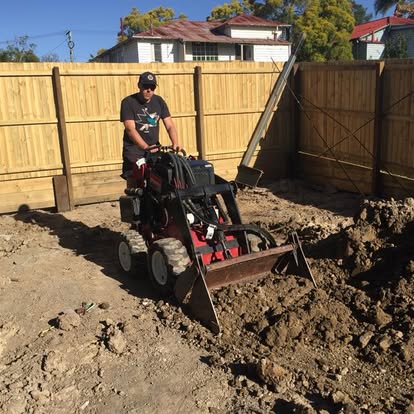
The slab. At a lower raise height, the finished slab level might end up only slightly below natural ground level and you can sometimes avoid significant bulk fill. At 3.35m, we had around 700mm of air between the bottom of the permanent bearers and natural ground - enough room to work, but the slab still needed to be brought up to a sensible finished floor level, which meant compacted fill and engineering sign-off on the bearing capacity.
External walls. The external framing runs from slab to the underside of the old floor - at 3.35m UFL, that’s a lot of wall. Standard stud walls needed head plates at the right height and the connection between the new external framing and the raised house perimeter required careful detailing at the top.
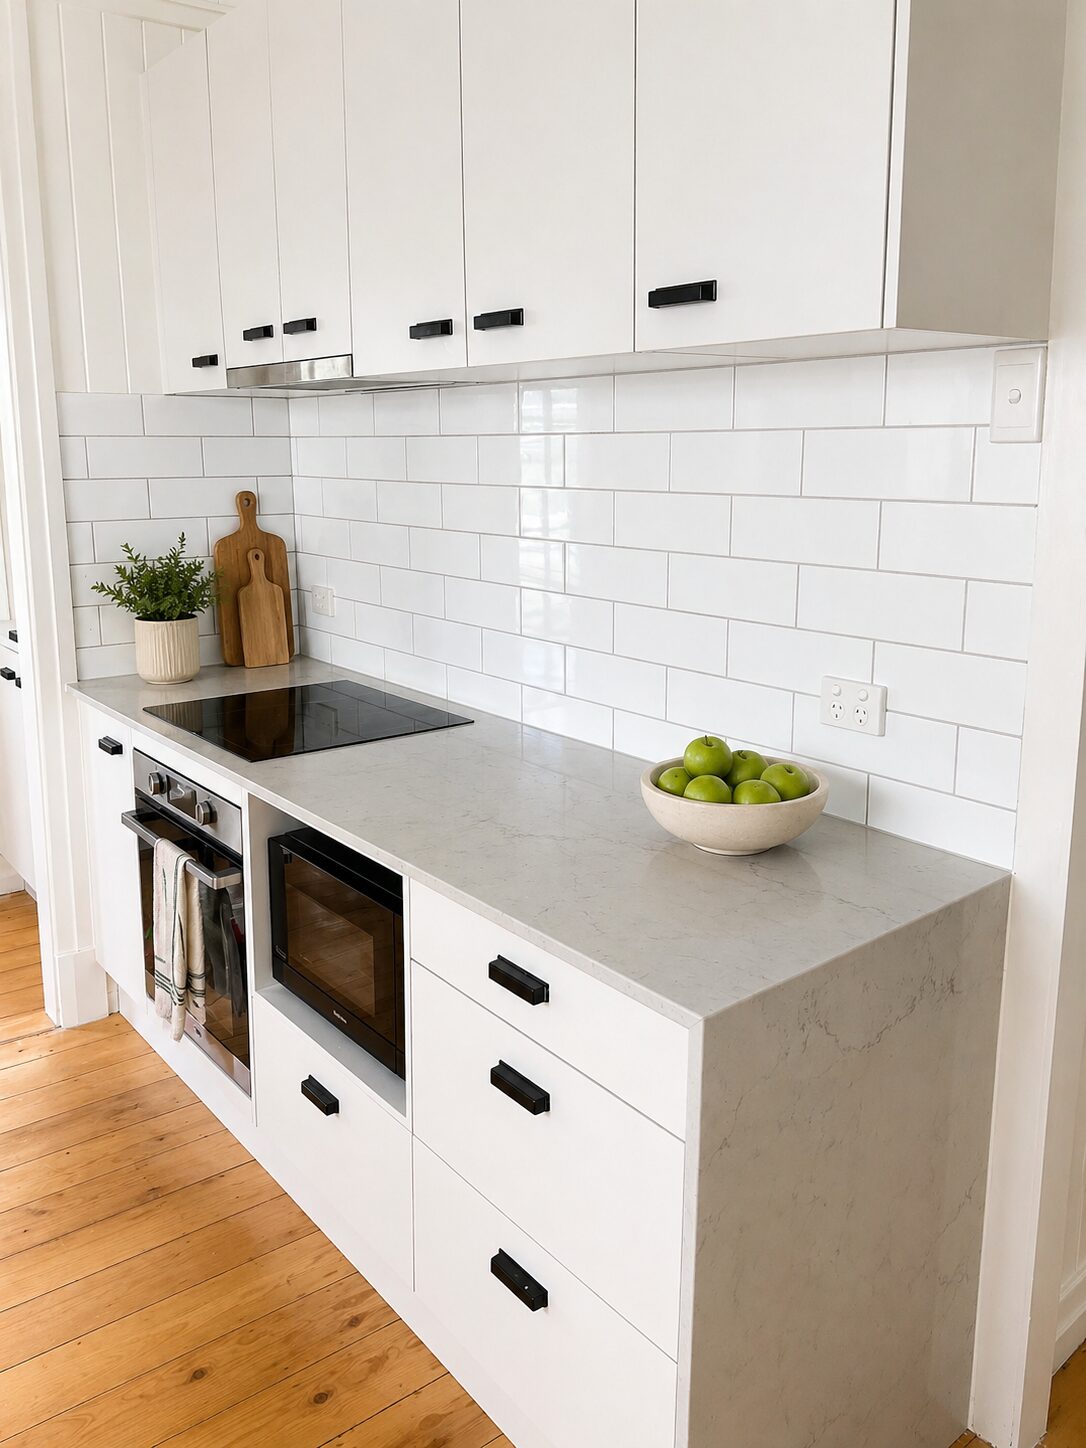
Window proportions. With taller external walls, you can use taller windows. This sounds cosmetic, but it matters - the light quality in the ground floor is directly related to window head height, and at 3.35m we had room to spec windows with 2.1m head heights. The rooms are genuinely light.
Cost. More wall means more framing, more plasterboard and more paint. The additional height contributed to external cladding and internal wall costs being higher than they would have been at a standard build-under height. We’ve estimated the ground floor build cost was roughly 10-12% higher than an equivalent project at 2.7m, attributable to the additional wall height.
Would we do it again
Yes, without hesitation. The additional cost - roughly $8,000 in structural premium and 10-12% more in the ground floor build - bought us a ground floor that doesn’t feel like an afterthought. The 2.9m internal height is the first thing people comment on when they walk in, and the proportions and the light are both right.
There’s also something less quantifiable: the feeling that the decision was made for the right reasons, not the cheapest ones. We went to eleven feet because the engineer confirmed it was achievable, because it solved a site problem without earth-moving and because it gave us a better outcome. The cost was real, and the result is better for it.
If your block allows it and your engineer supports it, I’d encourage anyone planning a build-under to at least model what 3m or higher gets them before they default to the minimum.
Queenslander raise height: common questions
Based on our Coorparoo, Brisbane project - 3.35 m raise, 2018.
How high should I raise a Queenslander for a build-under?
The practical minimum for a compliant liveable space is 2.4 m under floor level. Most build-unders target 2.4-2.7 m. We raised ours to 3.35 m (11 feet), which delivers approximately 2.9 m finished internal ceiling height - noticeably more generous than the standard result. The premium was around $8,000 in structural costs and 10-12% more in the ground floor build.
How much more does it cost to raise a Queenslander to 11 feet versus 2.7 metres?
On our Coorparoo project, approximately $8,000 extra across structural engineering, the temporary works specification and the subfloor. The ground floor build cost also ran 10-12% higher, due to the additional wall height: more framing, cladding, plasterboard and paint. For a typical full build-under, add roughly $25,000 to $35,000 to the overall project for the higher raise.
What happens to the structural engineering when you raise a Queenslander higher?
At greater heights, the centre of gravity rises, wind exposure increases and the moments at subfloor connections are larger. Your engineer will typically specify heavier temporary bracing (diagonal bracing between crib stacks), heavier permanent steel columns (RSJs) and bolted rather than nailed bearer connections. None of this is alarming - it's just what higher raises require.
How long does it take to raise a Queenslander?
The raise itself - getting the house from ground to full height - typically takes one day. The house then sits on temporary supports for 1-3 weeks while the permanent subfloor is installed. Our total from first jacks in to services reconnected was 18 days.
What internal ceiling height do you get from a 3.35 m Queenslander raise?
Approximately 2.9 m finished internal height. The 3.35 m figure is under floor level - once you allow for the slab thickness, services void and ceiling, finished ceiling height is typically 2.85-2.95 m. This is noticeably taller than a standard 2.4 m build-under, which typically finishes around 2.35-2.4 m internally.
Is it safe to raise a Queenslander to 11 feet?
Yes, when engineered correctly. The key is using a structural engineer experienced in Queenslander raises who specifies both the temporary works and the permanent subfloor. Higher raises are routine for experienced operators - ours was completed by a contractor who had raised hundreds of houses. The structural complexity is greater, but entirely manageable.
Are the costs in this article current?
No. The figures here are 2018-2020 dollars. Brisbane construction prices have risen sharply since, so a comparable raise and build-under today would cost well above these figures. Use the numbers as a structural reference, not a current cost guide.
Newsletter
Follow the build
One documented Coorparoo project - the costs, the approvals, the calls we would reverse. Lessons that translate, straight to your inbox.