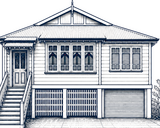
Before & After: Coorparoo Queenslander Raise and Build-Under
The same house on the same block, from the original 1920s Queenslander through to a completed two-level home. 3.35 m raise. 112.5 m² enclosed build-under. $331,510 build-under.
📷 Visual proof
Same corner, years apart
Three moments from the same project: original condition, mid-raise, finished.
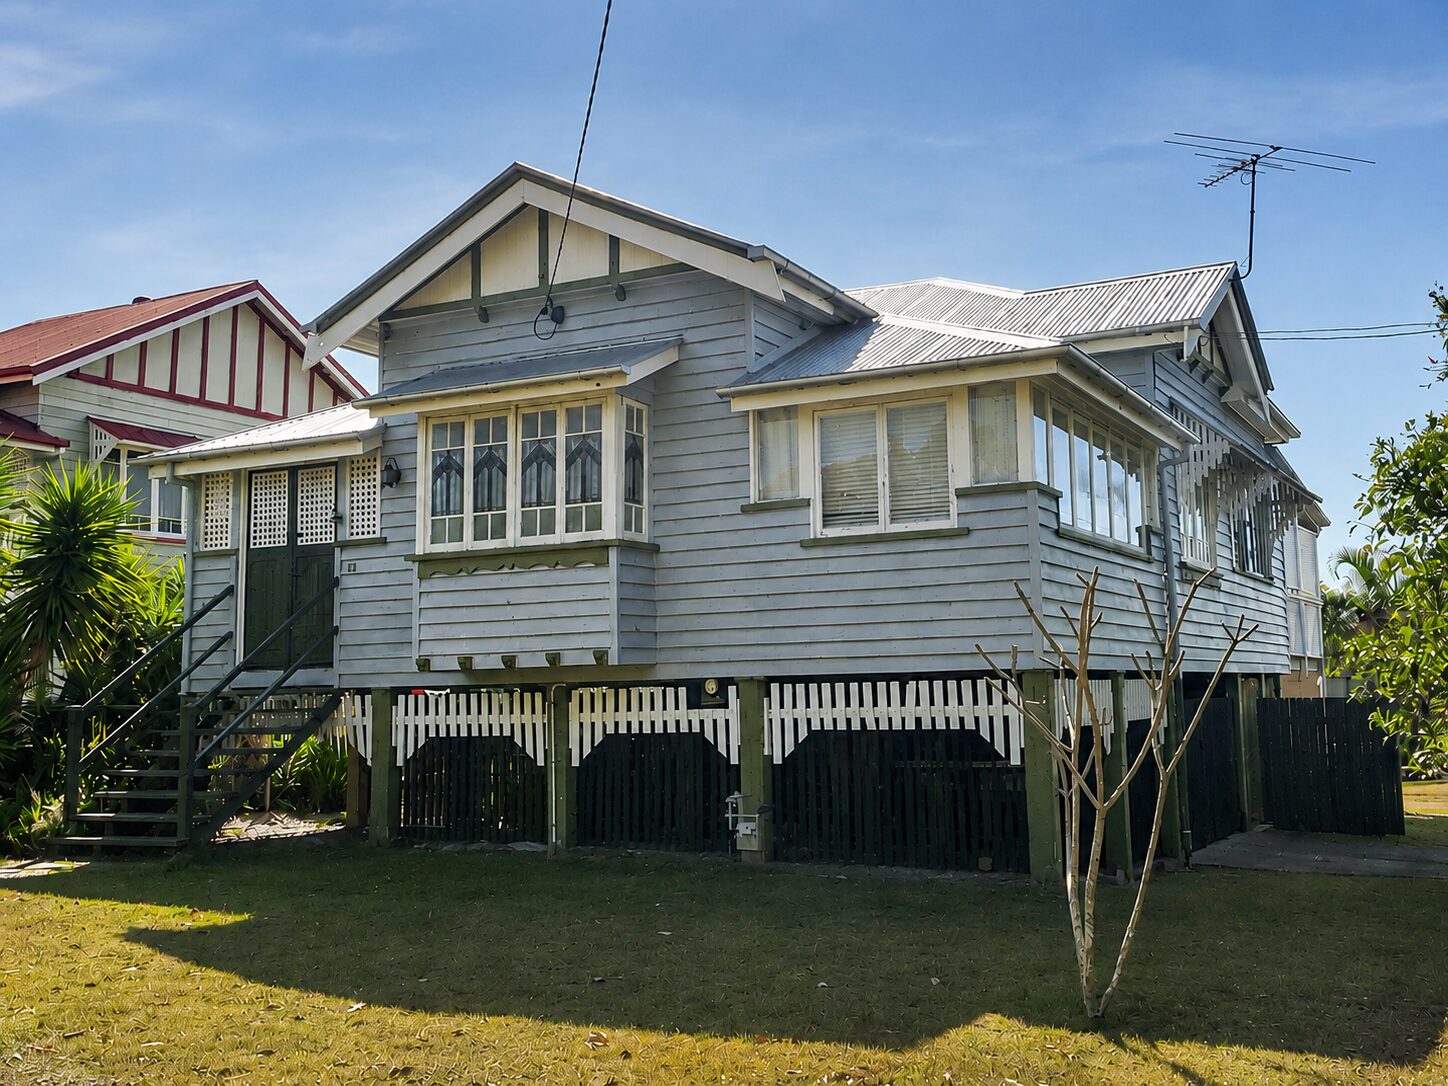
Original Queenslander
1920s weatherboard on short stumps (~0.6 m). Single storey. Limited headroom underneath.
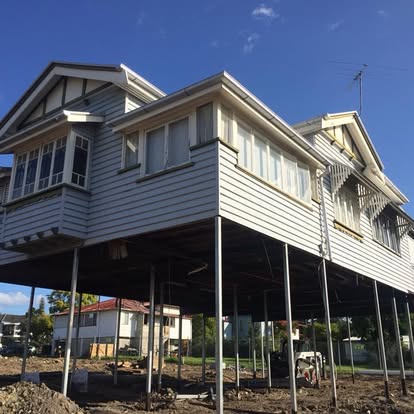
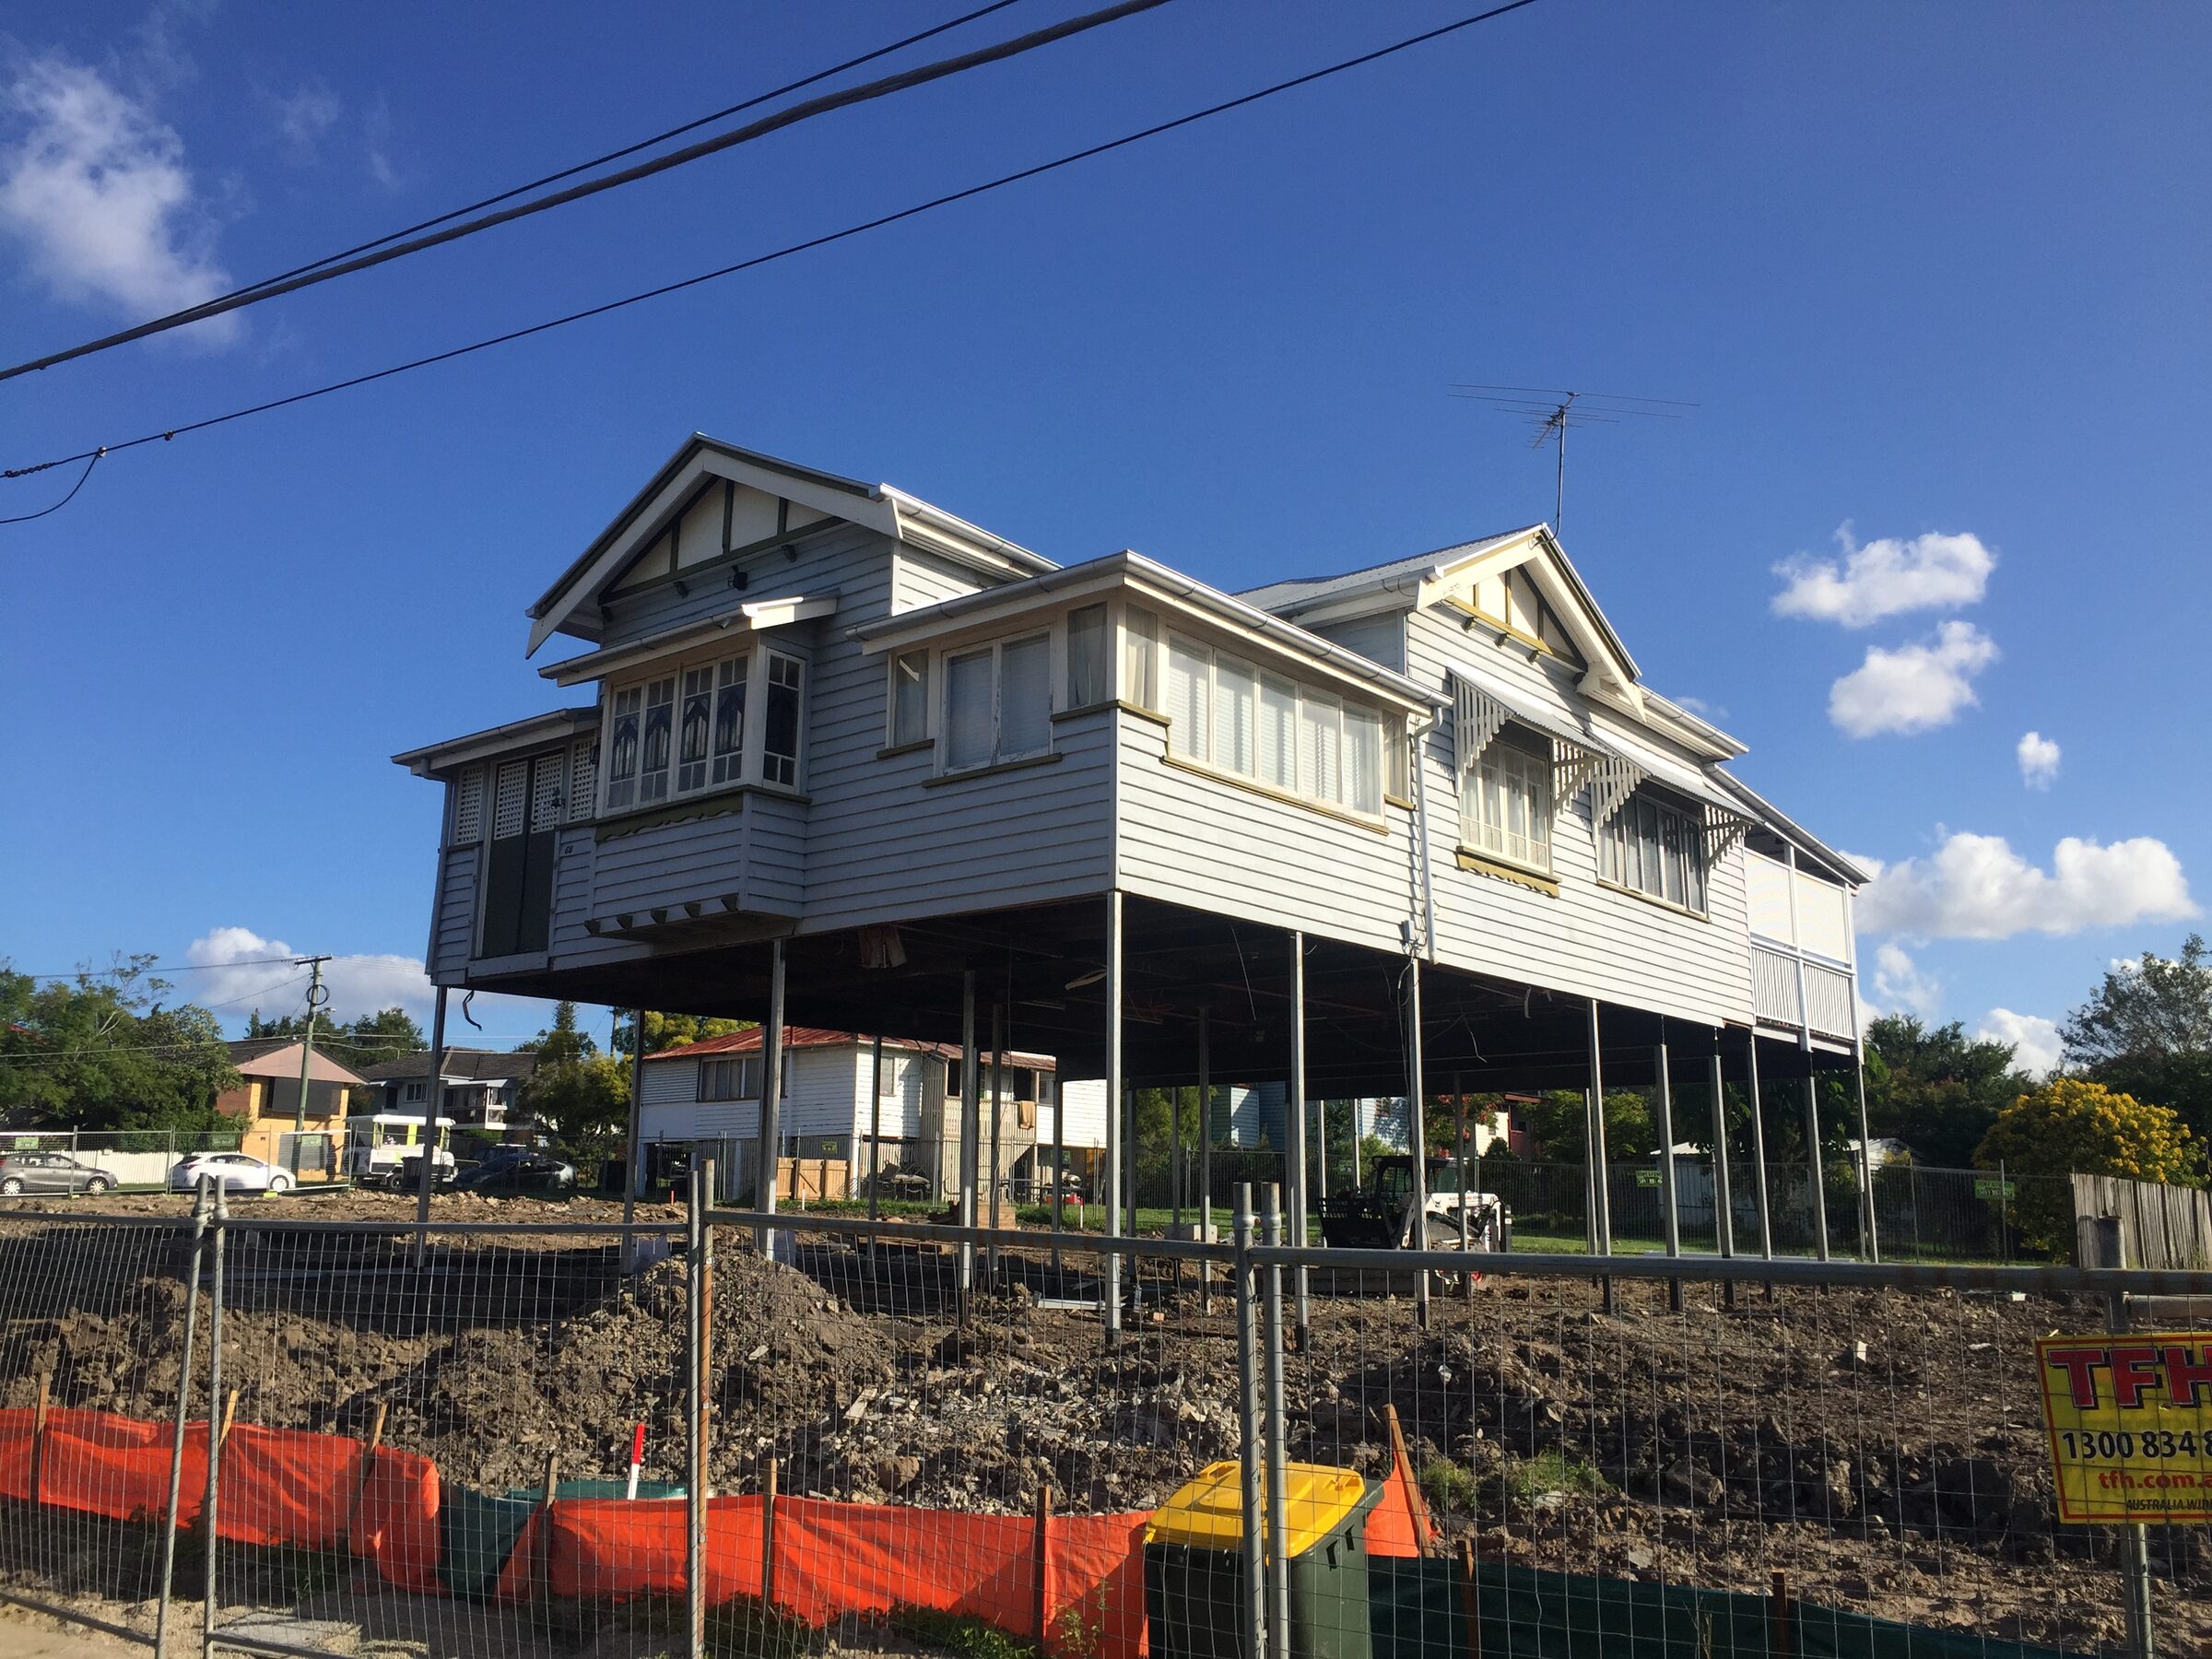
Suspended at 3.35 m
The house raised to 11 feet on temporary supports. The build-under took shape underneath.
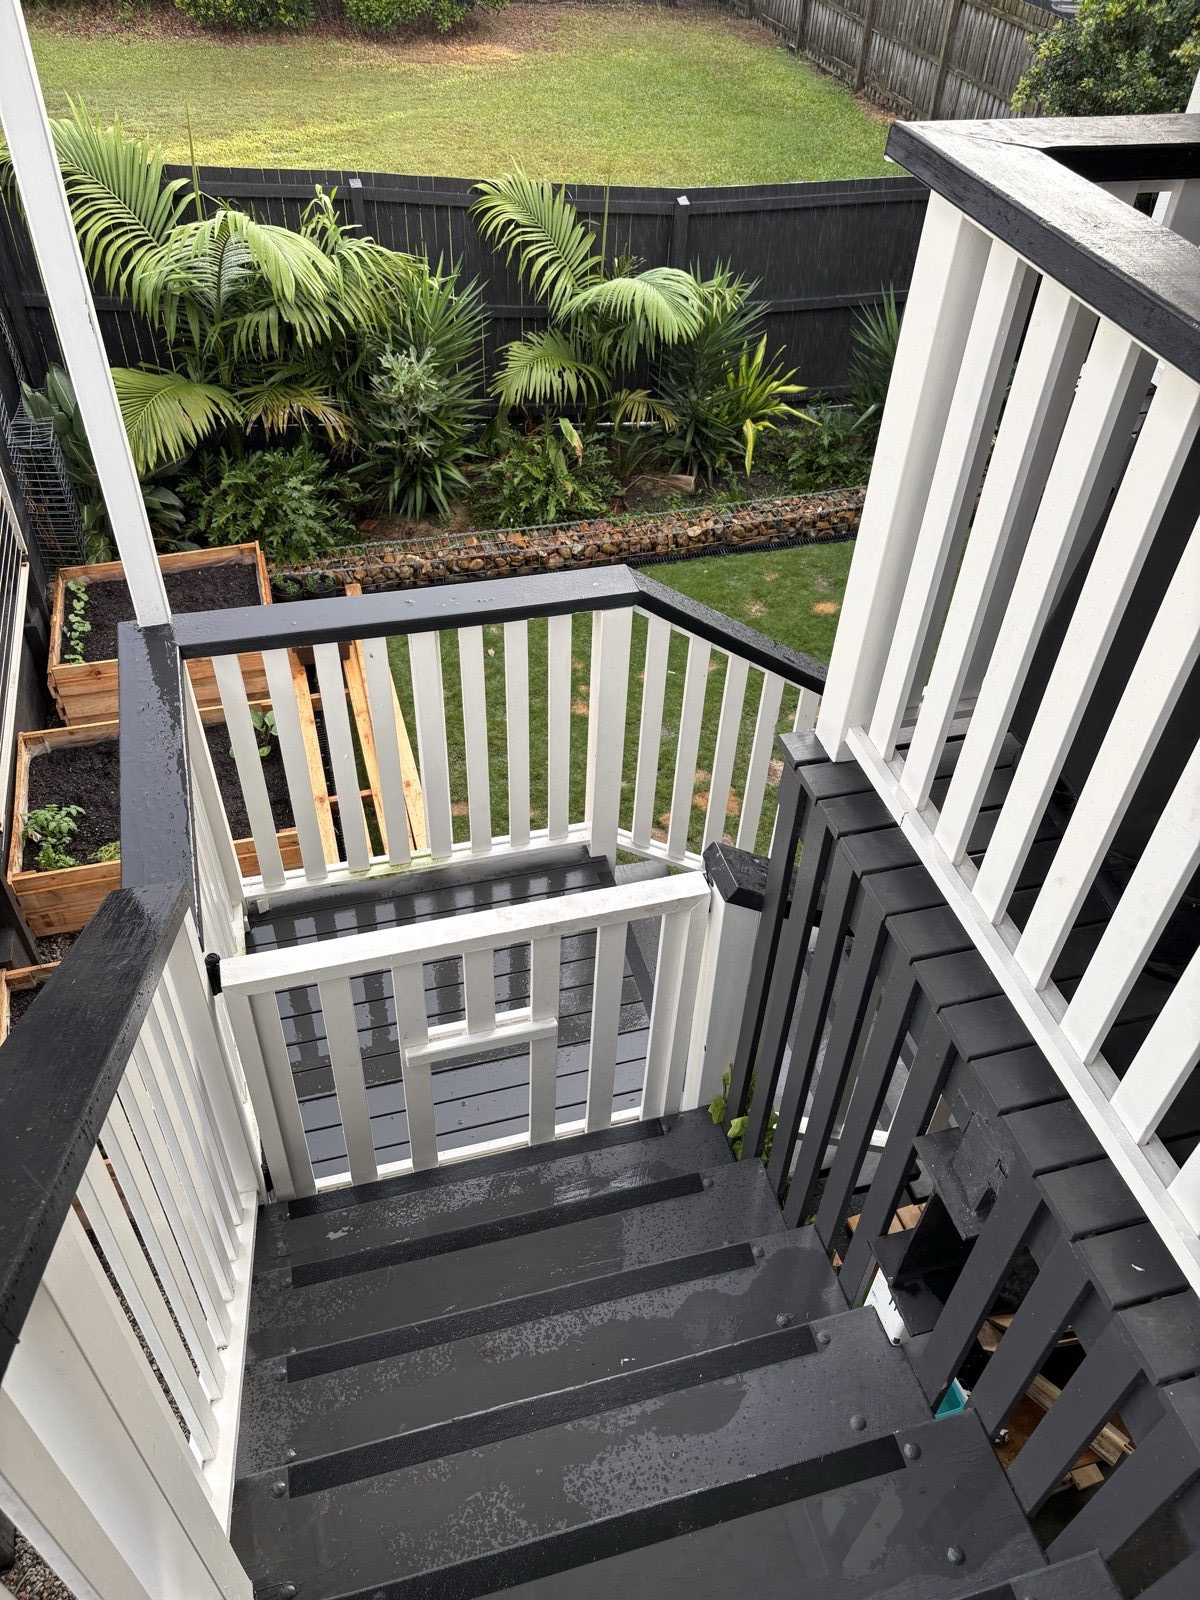
Completed build-under
Two-level home. 112.5 m² enclosed build-under. 2.9 m ceiling height. Same block, same house.
See all project photos
The complete photo set, organised by stage.
🛣️ Stage by stage
The transformation, stage by stage
Every major stage from original house to completed build-under.
Pre-2018
Original house
1920s Queenslander on short stumps (~0.6 m), single storey with weatherboard cladding. The block had potential, but the house had limited headroom underneath, not enough for anything useful.
2018
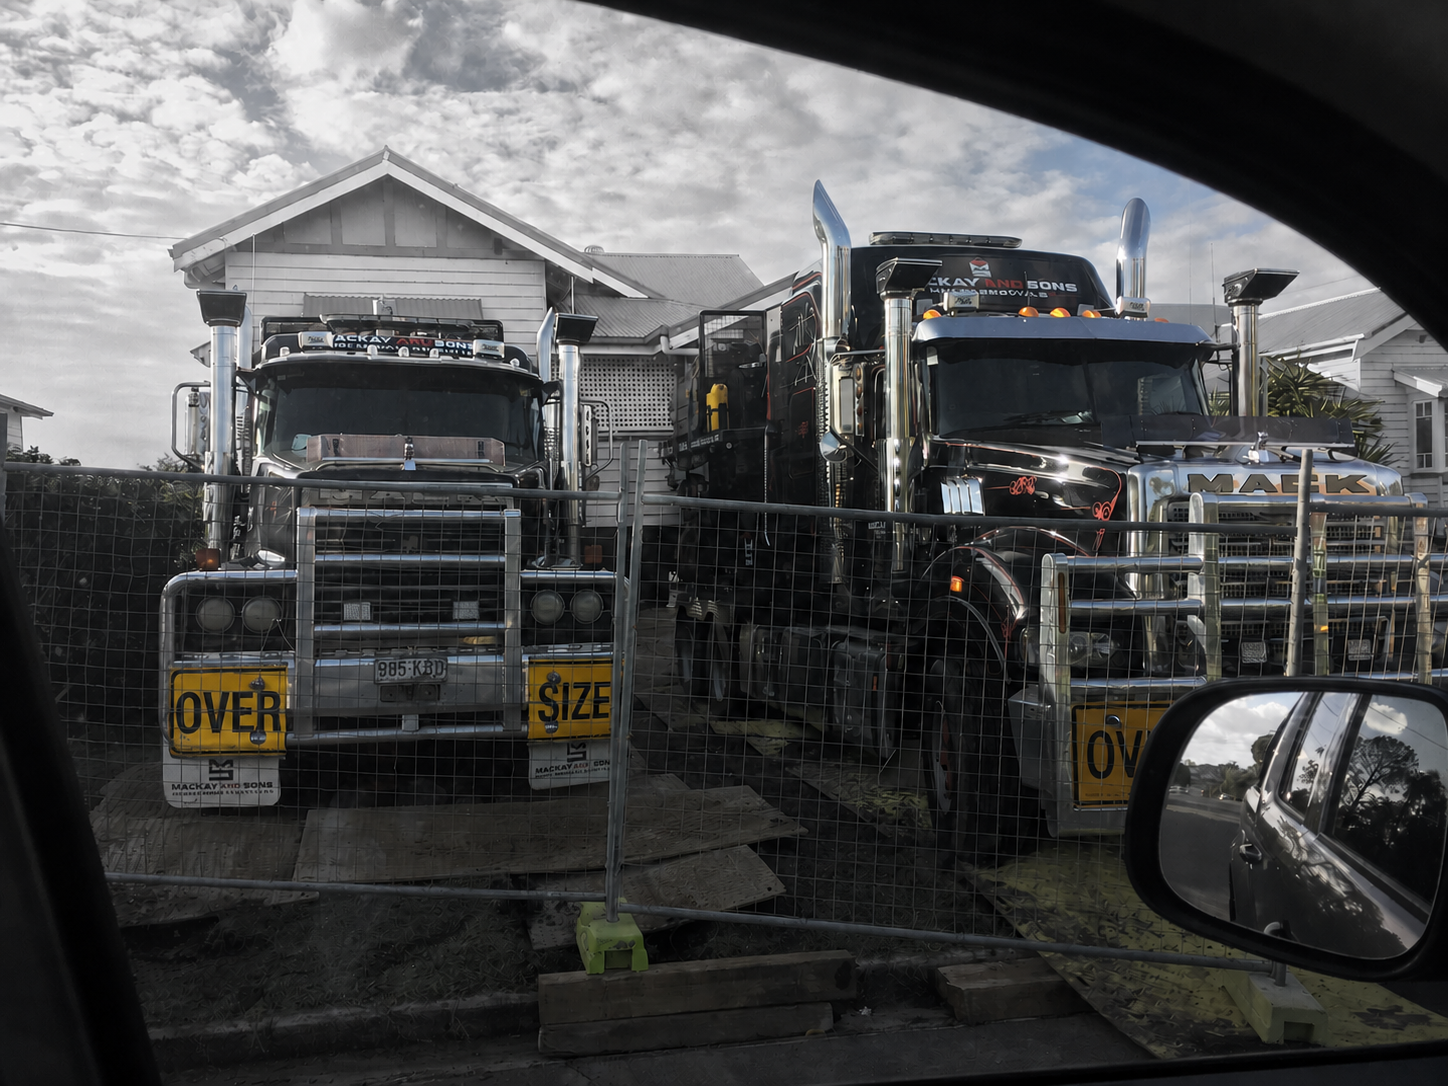
Raised on temporary supports
The raise contractor used hydraulic jacks at ~30 positions to lift the house to 3.35 m under floor level, or 11 feet. The house sat on temporary steel and timber crib supports for 11 days while the permanent subfloor was installed below.
2018-2019
Slab and subfloor
Once the house was lowered onto its permanent subfloor, the ground floor build began: earthworks, termite barrier, raft slab design and pour. The engineer's specification on shale with active ground drove the reinforcing requirements.
2019
Framing and services
External and internal wall framing formed the new ground floor rooms. Rough-in of all services followed, electrical and plumbing, before any walls were closed in. Each stage required certifier sign-off before proceeding.
2019-2020
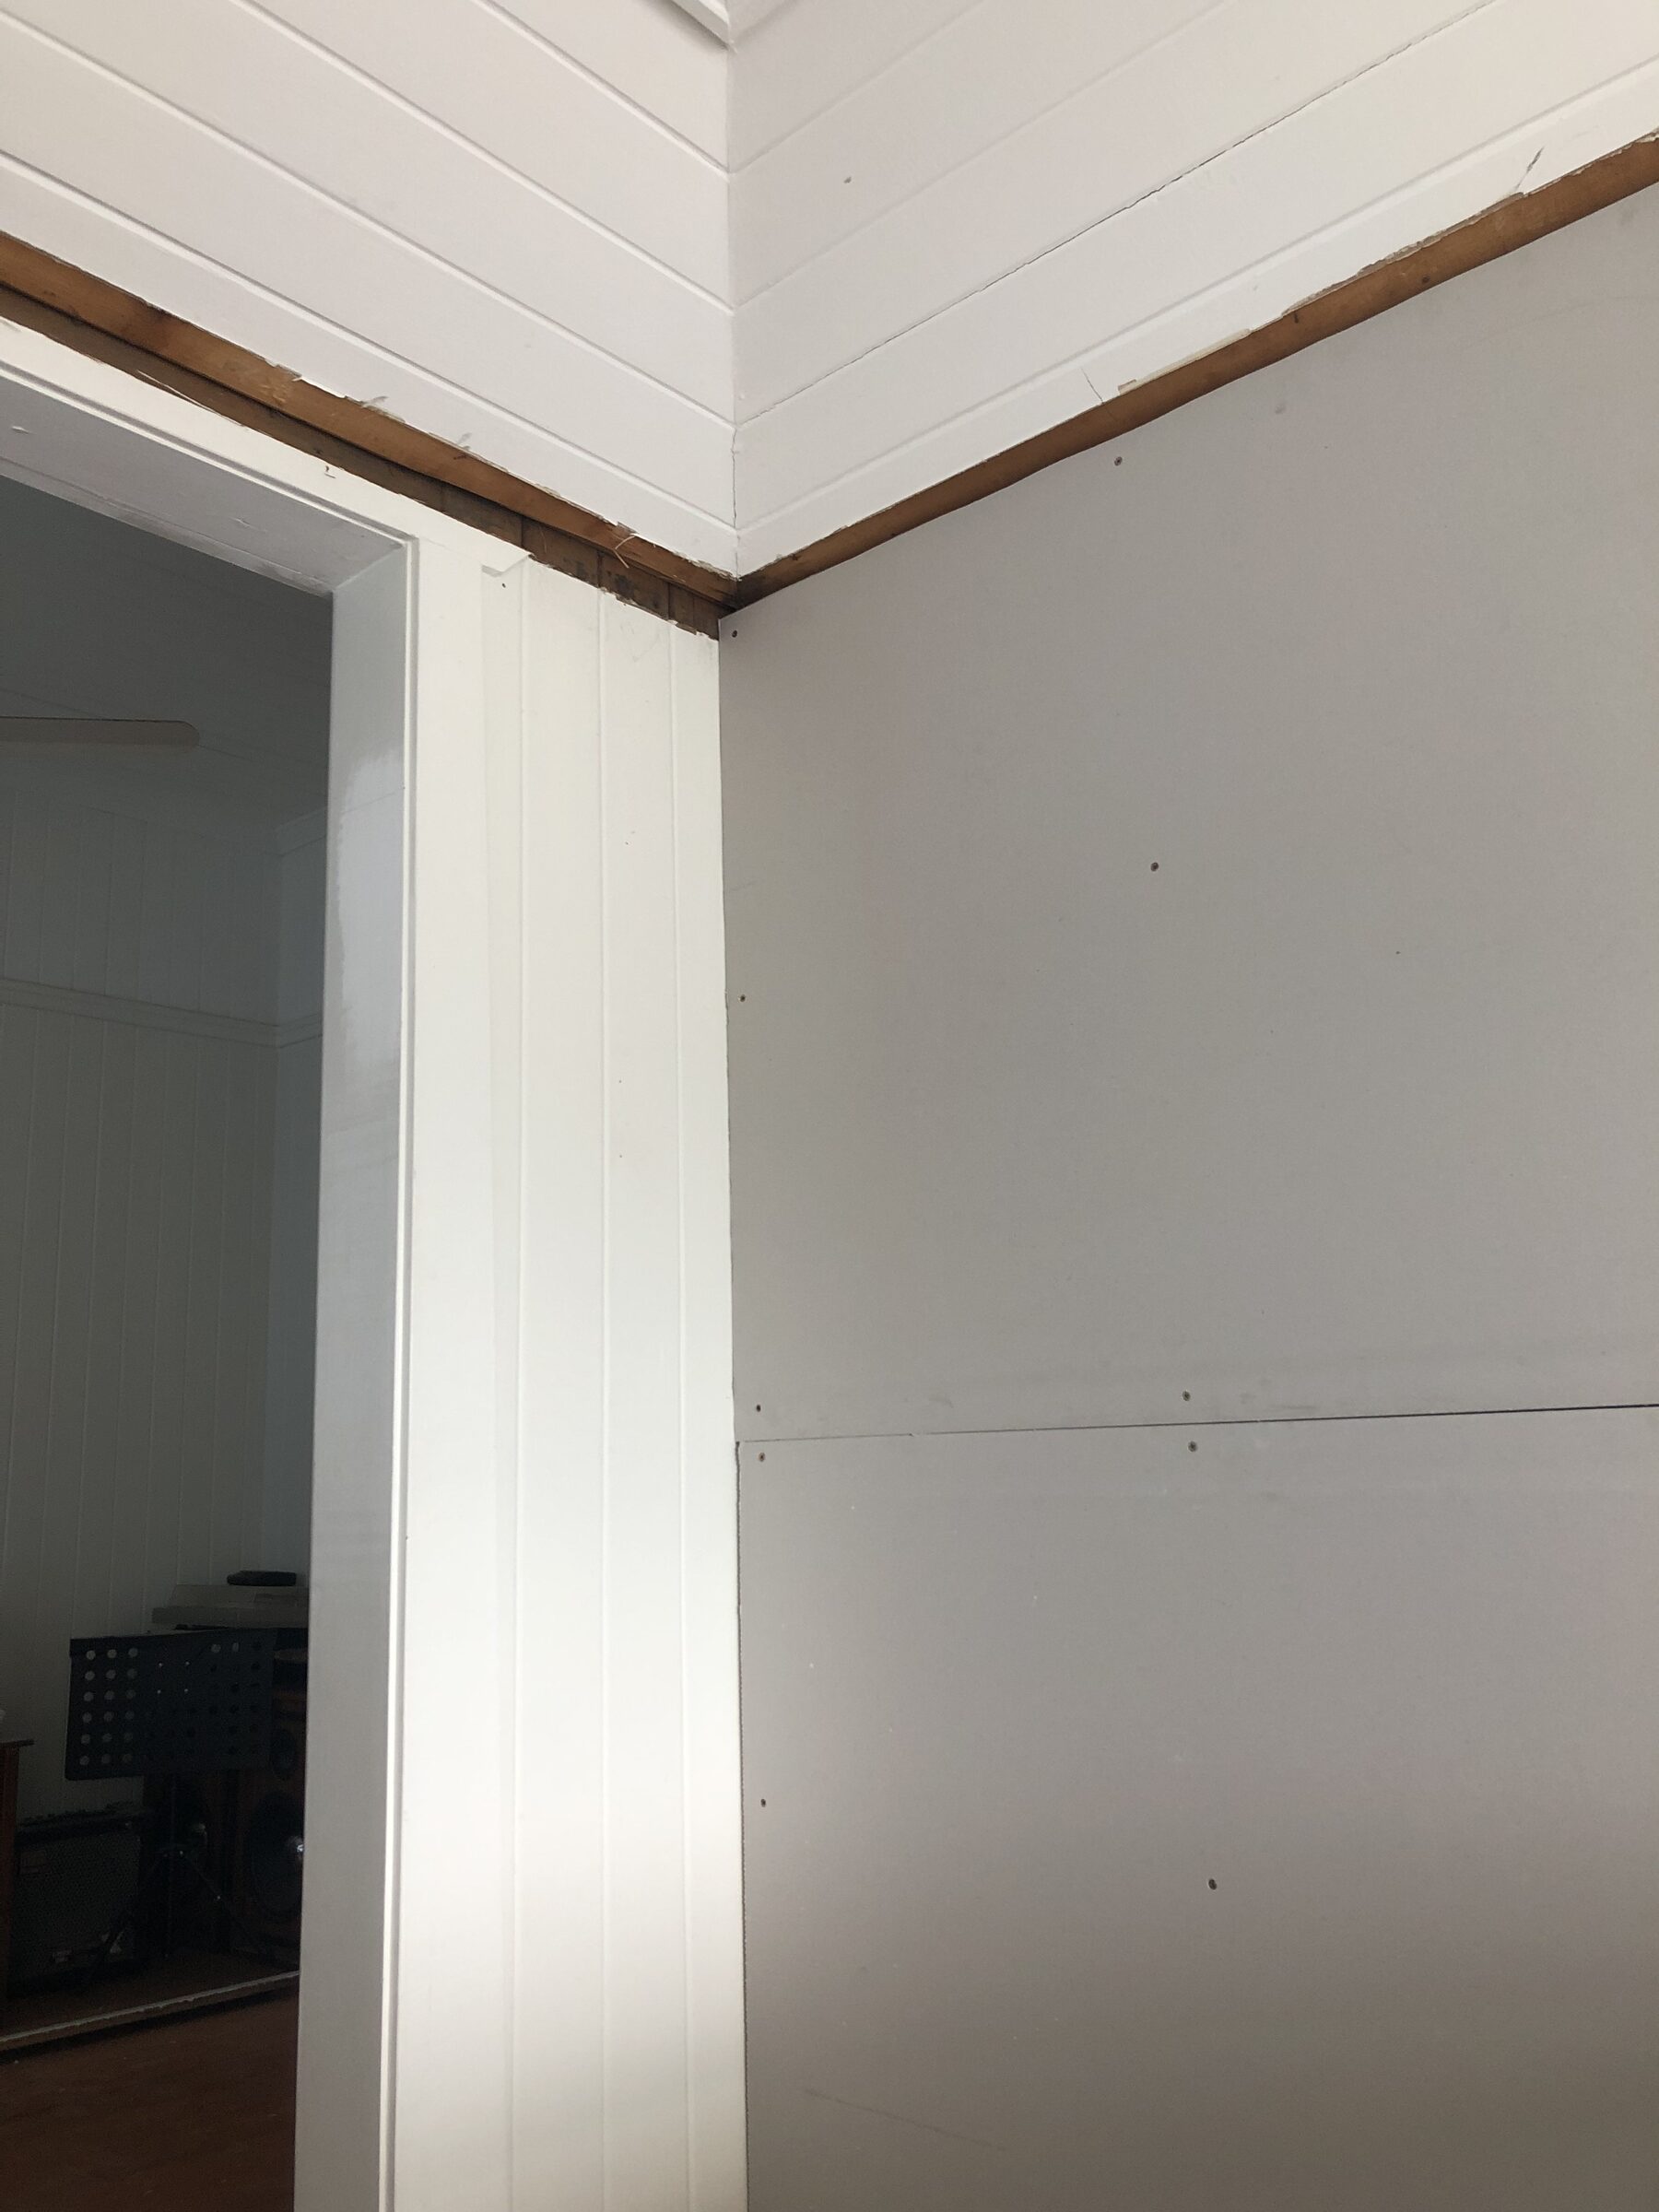
Lining and fit-out
Insulation, plasterboard, bathroom tiles and fit-out, polished concrete flooring and painting all followed. The ground floor went from rough framing to a finished, liveable space.
2020
Completed build-under
The same block and the same house, now with a complete two-level home. The enclosed habitable build-under is 112.5 m² of new living space with 2.9 m finished ceiling height throughout. The 1920s character of the upstairs is unchanged.
🏗️ The invisible work
What you can't see in the photos
The visible transformation is the easy part. What determines whether a project like this succeeds is everything that doesn't show up in a finished photo.
Engineering
Structural engineering specified both the permanent subfloor and the temporary works: the lifting system, crib stack design, bracing and connection details. This documentation is what makes a 3.35 m raise safe and certifiable.
Approvals
Development approval from Brisbane City Council (for the change of use and building envelope), building permit, private certifier engagement and the QBCC owner-builder permit. Each took weeks. None is visible in the photos.
Inspection hold points
Each major stage required a certifier inspection before the next could begin: slab reinforcing before the pour, frame before lining, rough-in before wall closure. Missing a hold point means stopping work until it's rectified.
Drainage and services
The raise disconnected and reconnected every service: water, gas, electrical, sewage. Drainage from the new ground floor had to be engineered to tie into the existing sewer. None of this is visible in a finished photo.
Waterproofing
Wet areas (bathroom, laundry) required membrane waterproofing before tiling, with the certifier signing off at the wet area membrane stage. Getting this wrong creates problems that don't show up for years.
Trade sequencing
Electrical rough-in must happen before plasterboard. Plumbing rough-in before slab. Insulation before lining inspection. The sequence is unforgiving: one trade out of order can delay everyone else.
Plan with the real figures
Get the Build-Under Budget Toolkit
The Coorparoo line items pre-loaded as a worked example. Enter your own quotes alongside the real figures paid, add line-level contingency and catch surprises before they happen.
One-time purchase. 30-day refund.
Next step
See what the transformation actually cost
Now you've seen the before and after, see the full cost breakdown. $331,510 across 8 categories with notes on items over initial estimates, savings, owner-builder labour and what was outside scope.