How to Build a Kitchen Cabinet from Melamine Board
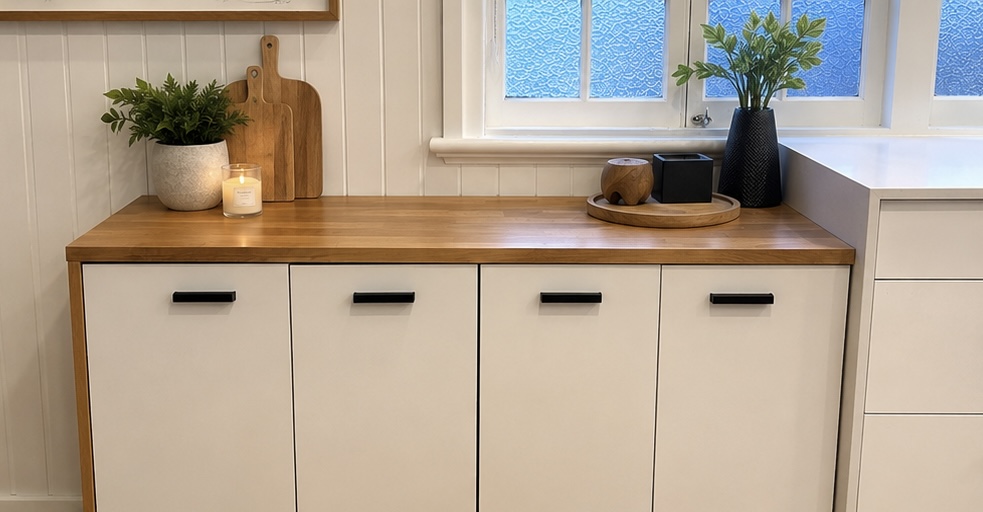
This was my first real attempt at cabinetry and it was much harder than I expected. We were short on storage in the kitchen, so the plan was a low run of cabinets along one wall with a timber benchtop over the top. The finished job came up well and took a weekend, but the making was a different kind of work to building a house. Everything has to be cut to the millimetre, and melamine punishes a careless cut. If you want the story of why we built it and how the weekend actually went rather than the build steps, that is over here. This guide is the how.
Why cabinetry is harder than framing
When you frame a house you can get away with five millimetres here and there. A stud a touch long gets knocked into place, a bearer that sits slightly proud gets a packer under the other end and the sheet cladding hides most of it. Cabinetry has no packers and no cladding to hide behind. A carcass panel cut five millimetres short leaves a gap you can see, and a door hung five millimetres out throws the reveal off against the one next to it.
The other difference is the material. Melamine-faced particleboard has a hard, brittle surface bonded to a soft chipboard core. That surface chips the moment a blade lifts a flake of it, and once it is chipped there is no filling it back to invisible. You work to protect the face from the first cut to the last.
Tools and materials
- Melamine-faced particleboard, 16 mm or 18 mm, for the carcass and doors
- Iron-on melamine edge banding to match
- Circular saw with a fine-tooth blade (60 teeth or more, a triple-chip melamine blade is best)
- A straightedge or track to guide the saw
- Masking tape
- Concealed (European) hinges and their mounting plates
- A 35 mm Forstner bit and a hinge jig
- Cabinet screws or confirmat screws, plus a matching drill bit
- Clamps, a square, tape measure and a sharp pencil
- Handles and a drill
Buy more board than the cut list says
I bought 50 percent more timber than the panels actually needed. That was a deliberate call, not waste. I knew that cutting melamine cleanly enough to use on a visible face would take me a few goes, so the spare board covered the cuts I chipped, the panel I measured wrong and the offcuts I wanted to test the saw on before committing to a real part.
Step 1: Cut the carcass without chipping the melamine
The circular saw is where most first attempts go wrong. The blade spins so the teeth cut upward through the board, which means the underside stays clean and the top face is where the melamine tears out. Two things follow from that.
Cut with the good face down. The face you want to protect goes against the sawhorses, so the blade enters through it cleanly and any tear-out happens on the hidden side.
Tape and score the cut line. Run a strip of masking tape along the line on the up-facing side and cut through the tape. The tape holds the surface fibres down while the blade passes. A light scoring pass with the blade set shallow, then a full-depth pass, chips even less.
Beyond that it is blade and patience. A fine-tooth or triple-chip blade made for laminate leaves a far cleaner edge than a general timber blade. Feed the saw slowly and let the blade do the work, because forcing it flexes the cut and lifts the surface. A guide or track keeps the line dead straight, which matters when the panel has to land on the millimetre.
Step 2: Edge band the exposed edges
The cut edges show raw chipboard, so any edge that will be seen gets iron-on melamine banding. Run a household iron over the banding to melt the glue, press it down as it cools, then trim the overhang flush with a sharp chisel or an edge trimmer and lightly ease the corner so it does not catch. Band the edges before assembly where you can, because a flat panel is far easier to work than one already screwed into a box.
Step 3: Assemble the carcass square
Drill and screw the sides, base and top together into a box. Confirmat screws pull melamine panels together squarely and hold well in chipboard, but ordinary cabinet screws into pre-drilled pilot holes also work. The one thing that matters more than the fixing is that the box ends up square.
Check square by measuring the two diagonals. When they are equal, the box is square. Fitting the back panel while it is square locks it there, so the back is doing structural work, not just closing the cabinet in. A carcass that racks out of square will fight you at the door stage, so get it right before the glue and screws set the shape.
Step 4: Fit the concealed hinges
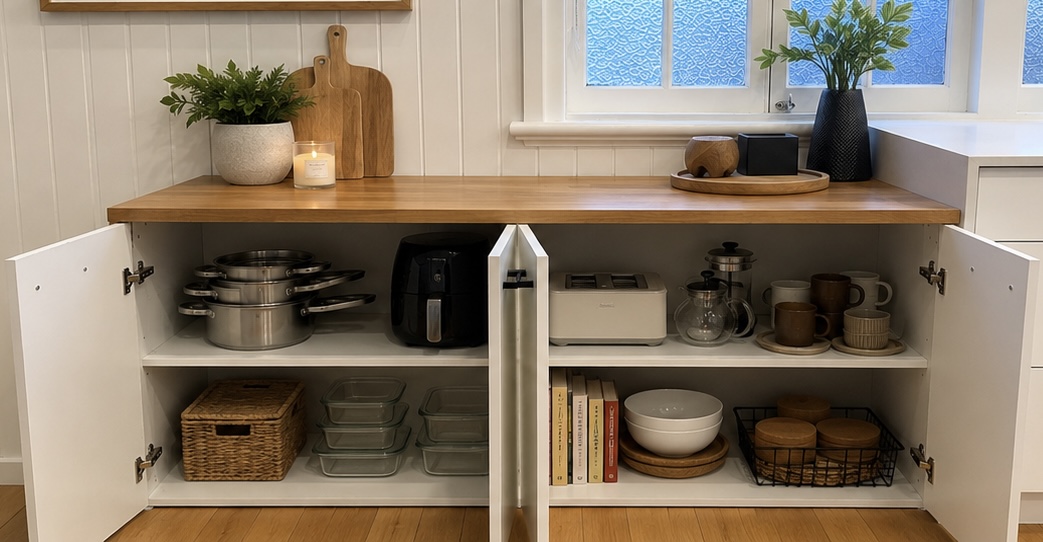
The hinges were the part I worried about and they turned out to be the least of it, because I had assembled flat-pack cabinets before and the concealed hinge system is the same on every one. Each door needs a 35 mm flat-bottomed hole bored for the hinge cup, set in from the edge by the amount the hinge specifies. A Forstner bit in a hinge jig keeps the hole the right depth and the right distance from the edge, which is what keeps the doors consistent across the run.
Screw the cup into the door, screw the mounting plate into the carcass side and clip the two together. Do not bore all the way through the door, because a Forstner bit that breaks the front face wrecks the very surface you protected through every cut.
Step 5: Line up the doors
Lining up the doors was the hardest part of the whole job. On a run of cabinets the eye reads the gaps between doors instantly, and any door sitting proud, low or skewed is obvious. European hinges adjust three ways, which is what saves you here: one screw moves the door side to side, one moves it in and out, and one moves it up and down.
Hang all the doors first, then adjust. Work along the run setting an even reveal, a consistent gap of two to three millimetres, between each door and its neighbour. Use a spacer or an offcut of even thickness as a gauge rather than judging by eye. Adjust in small turns and keep stepping back, because the gaps only read as right when you see them all together. This is slow, and it is where the weekend went.
Step 6: Cut and fit the benchtop
After the cabinets, the benchtop felt easy. I had plenty of experience cutting bench material, so the long cut across the timber top went cleanly and sat down flat on a square run of carcasses. The lesson is that the benchtop is only as good as the boxes under it: level, square cabinets give the top a flat run to sit on, and a bench cut to length lands neatly when the cabinets it covers are true.
Why so much cabinetry is built in a factory
By the end I understood why cabinetmakers cut in a workshop and only assemble on site. A factory panel saw has a scoring blade that nicks the underside before the main blade cuts, so both faces come off chip-free every time, and an edgebander applies and trims banding in one pass. That equipment removes the two things that cost me the most, chipped faces and slow edging, and it makes cutting to the millimetre repeatable across dozens of panels. Doing it by hand with a circular saw is absolutely possible, and I would do it again, but the extra board, the slow cuts and the patience at the door stage are the price of not having the factory gear.
Building a melamine cabinet: FAQ
Can I really build cabinets with just a circular saw?
Yes. A circular saw with a fine-tooth or triple-chip melamine blade, a straight guide and masking tape over the cut line will give you clean enough edges for a good result. It is slower than a factory panel saw and you should expect to redo a few cuts, which is why buying extra board matters, but the tool is not the limitation.
Why does the melamine chip on one side of the cut?
A circular saw's teeth cut upward through the board, so the surface fibres on the up-facing side tear out while the underside stays clean. Cut with the good face down and tape the up-facing line so tear-out lands on the hidden side.
How much extra board should I buy?
For a first attempt, around 50 percent over the cut list is sensible. It covers chipped faces, mismeasured panels and offcuts for testing the saw. On later jobs, once your cuts are reliable, you can trim that margin right back.
What makes lining up the doors so hard?
The eye reads the gaps between doors along a run, so any door that sits proud, low or skewed stands out. Concealed hinges adjust three ways, so hang every door first, then work along the run setting an even two to three millimetre reveal, checking small adjustments against a spacer and stepping back to see the gaps together.
Newsletter
Follow the build
One documented Coorparoo project - the costs, the approvals, the calls we would reverse. Lessons that translate, straight to your inbox.