How to Build a Timber Sleeper Retaining Wall
A timber sleeper retaining wall is one of the most achievable DIY landscape builds for a sloping Brisbane block. The technique is simple, but the limits on what is DIY-safe are firm: wall height, proximity to a boundary and whether the wall supports a load such as a driveway.

Know the limits before you start
Queensland practice is clear: get professional advice if the wall will be more than 400 mm high above natural ground level, if it is close to a boundary, or if it will carry a “live” load such as the edge of a driveway, paving above, or a structure.
In Brisbane, retaining walls over 1 metre in height (and sometimes lower if close to a structure or boundary) require building approval. Even walls under that height may need engineering certification depending on soil type, surcharge load and site conditions. Check with Brisbane City Council or your private certifier before committing to the design.
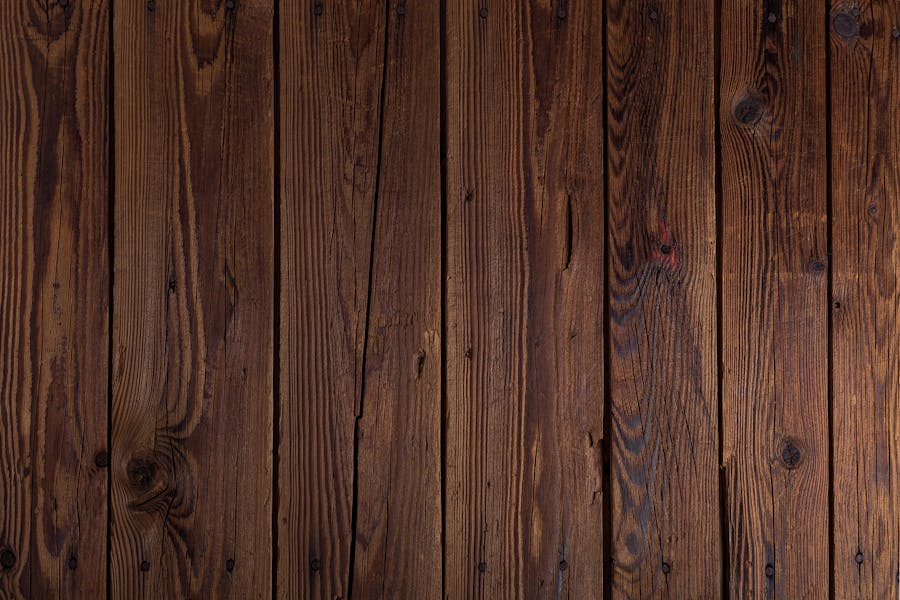
This article covers a sleeper wall up to about 600 mm high in stable soil with no significant surcharge, built with H4-treated pine sleepers and concrete-set posts.
Tools and materials
- H4-treated pine sleepers (minimum H4 rating for in-ground or near-ground timber)
- H4-treated pine or hardwood posts (100 x 100 mm minimum, or hot-dip galvanised steel posts)
- Concrete (20 MPa or stronger, premix bag works for small jobs)
- 100 mm slotted ag-pipe with sock
- Geotextile fabric
- Scoria or 20 mm clean gravel
- Galvanised batten screws or coach bolts to fix sleepers to posts
- Spade, post-hole digger or auger
- Spirit level, string line, tape measure
- Compactor (hand tamper for small jobs)
Step 1: Mark the wall and set out the posts
Drive a peg at each end of the wall and run a string line between them at the height the top of the wall will sit. The string defines both the position and the finished height.
Mark post positions along the string at roughly 1.2 to 1.5 m centres. Closer spacing is required for higher walls or weaker soil; check the sleeper manufacturer’s span chart for your specific product.
Step 2: Dig post holes
Each post needs a hole roughly twice as wide as the post and at least 600 mm deep, or one-third of the post’s total length, whichever is greater. For a 600 mm wall, post holes should be 900 mm to 1200 mm deep.
The depth gives the post enough buried mass to resist the soil pressure pushing the wall outwards. Skimping on hole depth is the most common cause of failure in DIY sleeper walls.
Step 3: Set the posts
Drop each post into its hole and brace it plumb in both directions with timber offcuts or stakes. Pour concrete into the hole, working it around the post with a stick to remove air pockets.
Slope the top of the concrete away from the post, so water runs off rather than pooling around the timber.
Let the concrete cure for at least 24 hours before loading the posts with sleepers. For taller walls in wetter soil, allow longer.
Step 4: Excavate the wall trench
Dig out the slope behind where the wall will sit. The trench needs to be deep enough for the bottom sleeper to be either flush with or slightly below ground level on the downhill side and wide enough to give you working room behind the wall for drainage.
Allow at least 300 mm of working space behind the wall for the drainage layer.
Step 5: Lay the first sleeper
Place the bottom sleeper against the downhill face of the posts and check it sits level along its length. Screw or bolt it to the posts using galvanised batten screws or coach bolts. Two fixings per post is the minimum.
Pre-drill the timber to prevent splitting, in particular near the ends of each sleeper.
Step 6: Stack the sleepers
Place each subsequent sleeper on top of the previous one, fixed to the posts. Stagger the joints between rows, so end-joints are not directly above each other.
Check level on each row before fixing - a wall that drifts off level becomes very visible as it grows.
Step 7: Install drainage behind the wall
The drainage layer is what stops the wall failing. Water trapped behind a retaining wall is the primary cause of failure - the soil saturates, gets heavier and pushes the wall outwards.
The standard detail:
- Lay geotextile fabric against the back face of the wall and up the soil cut behind, leaving extra fabric to fold over the top later
- Place a 100 mm layer of scoria or clean gravel along the bottom of the trench
- Lay 100 mm slotted ag-pipe with sock along the bottom, on top of the scoria, with a slight fall to a discharge point
- Continue filling behind the wall with scoria up to within 100-150 mm of the top
- Fold the geotextile fabric over the top of the scoria to seal the drainage layer
- Top with soil
The ag-pipe outlet must discharge to a legal stormwater connection, a soakwell sized for the catchment, or a vegetated area well away from any structures. Discharging onto a neighbour’s land or back into a structural footing is not acceptable.
Step 8: Backfill and compact
Backfill behind the drainage layer in lifts of about 150 mm at a time, compacting each lift with a hand tamper before adding the next. Compaction is what stops the backfill settling later and leaving a hollow at the top of the wall.
Slope the finished surface behind the wall away from the wall to direct surface runoff toward a swale or drain, not toward the drainage layer.
Common mistakes
Skipping the drainage. Saturated soil behind the wall is heavier than dry soil and pushes much harder. Walls without drainage fail.
Posts too shallow. Half the wall is in the ground (or should be, in proportion to wall height). Shallow posts pivot in the soil and the wall leans within months.
Untreated or H3 timber. In-ground or near-ground timber must be H4 (or H5 for full burial). H3 timber rots quickly and the wall fails from within.
End-joints stacked above each other. Creates a vertical weak point. Stagger joints between rows like brickwork.
No outlet for the ag-pipe. A drainage layer that does not discharge fills with water and stops working. The pipe must go somewhere legal and accessible.
When to call a contractor
- The wall will be over 600 mm high (and definitely over 1 m)
- The wall is close to a boundary, building or driveway
- There is a load above the wall (paving, vehicle access, a structure)
- The soil is clay, soft or recently filled
- You are not confident in setting posts square and level over long runs
Timber sleeper retaining walls: FAQ
How long does a treated pine sleeper wall last?
An H4-treated pine wall built with proper drainage typically lasts 15 to 25 years before the timber starts to fail. Hardwood sleepers last longer (30+ years) at a higher upfront cost. The drainage detail behind the wall has more influence on life than the timber grade itself.
Do I need council approval for a 500 mm retaining wall?
In Brisbane, retaining walls under 1 m in height and not closer than 1.5 m to a boundary or building generally do not require building approval, but local planning rules vary. Always check with Brisbane City Council or your private certifier before building. Approval requirements are based on the height, location and what the wall is retaining.
Can I use besser blocks or concrete sleepers instead?
Yes. Concrete sleepers slot between steel H-posts and look similar to a timber wall, but last much longer. Besser block walls are stronger and suitable for taller heights, but need a footing engineered to the load. Both options cost more upfront than treated pine.
Sources and further reading
- Brisbane City Council: planning rules for retaining walls (search the council site for current requirements)
Newsletter
Follow the build
One documented Coorparoo project - the costs, the approvals, the calls we would reverse. Lessons that translate, straight to your inbox.