How to Drain a Retaining Wall
A retaining wall fails when the soil behind it gets heavier than the wall can hold back. Saturated soil weighs roughly twice as much as dry soil and pushes much harder against the wall face. Drainage is what stops that. Get the drainage right and the wall lasts decades. Skip it and the wall will lean, then bow, then fail.
This article covers drainage behind a new retaining wall. For an existing wall that is starting to weep or lean, the same principles apply, but the work is harder because you need to excavate behind the existing structure.
What the drainage layer does
Three jobs at once:
- Collects water moving down through the soil behind the wall before it reaches the wall face
- Channels water away along a pipe at the base, before it can accumulate against the wall
- Reduces the lateral load on the wall by keeping the soil behind it as dry as possible
The drainage layer is not just the pipe. It is the pipe, the gravel surrounding it, the fabric that stops the gravel clogging and the discharge point that takes the water somewhere legal.

Tools and materials
- 100 mm slotted agricultural drainage pipe (ag-pipe) with sock
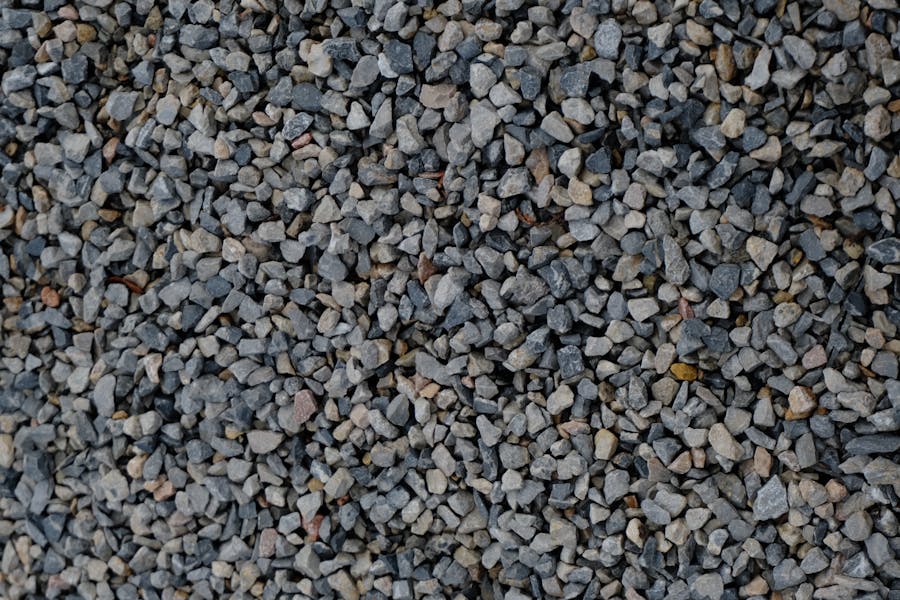
- Scoria, 20 mm clean gravel or similar free-draining stone
- Geotextile fabric (non-woven, drainage grade)
- Couplings and connectors for the ag-pipe
- Spirit level (or laser level for longer runs)
- Spade and shovel
- Wheelbarrow
- String line
- Cable ties (for joining geotextile fabric)
Step 1: Plan the discharge point first
This is the step most DIY drainage jobs get wrong. Before you dig anything, work out where the water from the ag-pipe will go.
Acceptable discharge points:
- Connection to the property stormwater system, where the council allows it (check with your plumber - a licensed plumber must make the connection)
- A soakwell sized for the catchment area, located well clear of the building and the retaining wall
- A vegetated discharge area downhill of the wall, sized to absorb the expected flow without scouring
Not acceptable:
- Discharging into a neighbour’s property (legally and practically a problem)
- Discharging against another structure or its footing
- Discharging onto a path or driveway
The pipe needs a continuous fall of at least 1 in 100 (1 percent, or 10 mm per metre) from the highest point to the discharge. Steeper is fine; flatter risks the pipe not flowing.
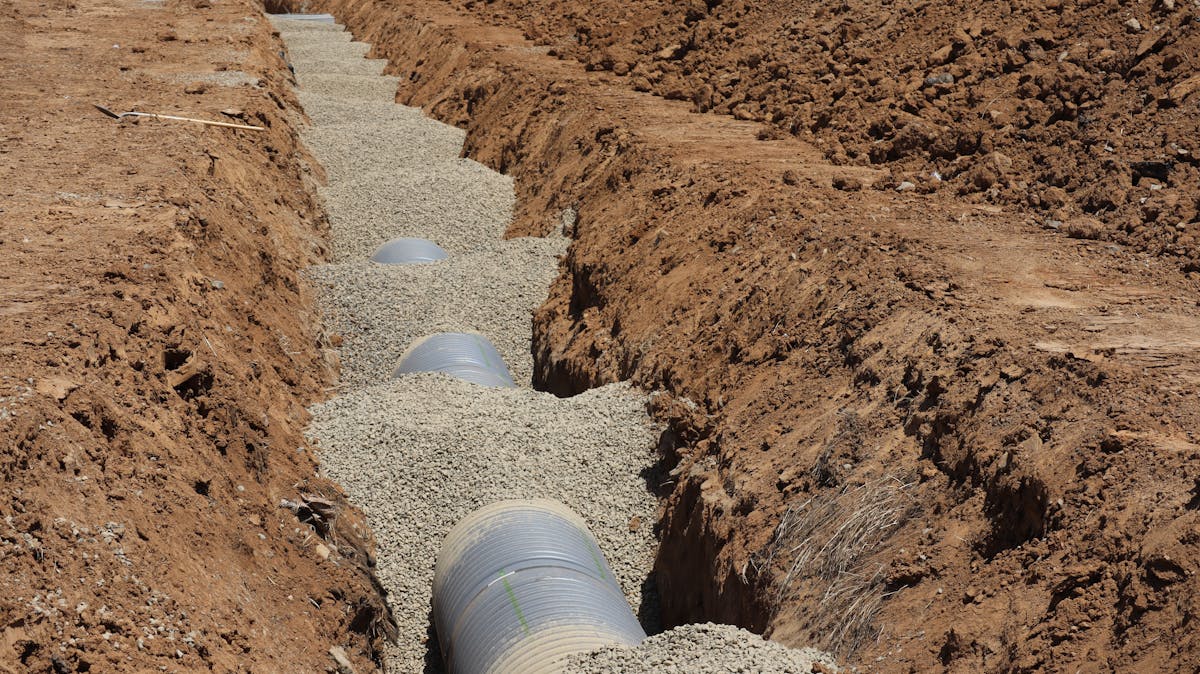
Step 2: Excavate behind the wall
If the wall is new, this excavation should already exist - the trench dug for the wall plus working space behind it. Standard working space behind a retaining wall is at least 300 mm.
The excavation depth at the wall base needs to be at least 100 mm below the bottom of the wall (or below the lowest finished ground level on the downhill side, whichever is greater), so the drainage pipe sits below the wall face and any water hits the gravel before it reaches the timber, blocks or other wall material.
Step 3: Lay geotextile fabric
Drape geotextile fabric against the back face of the wall and up the cut soil face behind. Leave generous overhang at the top - enough to fold over the finished scoria layer later.
The fabric does two jobs: it stops soil fines washing into the gravel and clogging it and it stops the gravel migrating into the soil. Without the fabric, the drainage layer slowly fills with mud and stops working within a few years.
Overlap fabric sections by at least 300 mm where they meet. Cable-tie the overlaps if there is a risk they will shift during backfilling.
Step 4: First gravel layer
Spread a 100 mm layer of scoria or 20 mm clean gravel along the bottom of the excavation, on top of the geotextile fabric. This bed gives the ag-pipe something firm to sit on and creates the channel water collects in.
Rake the gravel level along its length, but with a slight, consistent fall toward the discharge point - the same fall you set the pipe to.
Step 5: Lay the ag-pipe
Place the 100 mm slotted ag-pipe (with sock if not pre-socked) on top of the gravel bed. The pipe should run continuously along the length of the wall.
The sock (a fabric sleeve over the pipe) stops soil and fine sediment entering the pipe through the slots. Pipe without a sock will silt up.
Check the fall along the pipe with a level. Adjust the gravel underneath to correct any flat spots or reverse falls. Water cannot run uphill - even a short flat section creates a low spot that holds water.
Connect the pipe to the discharge run with the appropriate coupling. Bring the discharge end up to grade at an accessible point, so the system can be inspected and rodded if it ever blocks.
Step 6: Cover the pipe with more gravel
Backfill scoria or clean gravel up to about 100-150 mm below the finished surface level. The full drainage layer should now be:
- Bottom of trench
- 100 mm scoria bed
- Ag-pipe sitting on the bed
- Scoria backfilled to within 150 mm of the surface
- Geotextile fabric folded over the top
The fabric over the top seals the drainage layer from above, so surface soil and silt cannot wash down into the gravel.
Step 7: Top with soil
Backfill the remaining 100-150 mm with topsoil. Compact lightly. Slope the finished ground surface away from the wall, so surface water runs across the ground rather than soaking straight down into the drainage layer.
For walls in lawn areas, plant grass or groundcover. For garden beds against the wall, leave 100-150 mm of mulch on top of the topsoil, so the surface stays loose enough to absorb rainfall without runoff.
Step 8: Test it
Pour a bucket of water at the high end of the drainage run and watch it discharge at the low end within a few seconds. If it does not, something is wrong - check for blockages at the discharge, low spots in the pipe, or fabric that has clogged a section before it could function.
Test before backfilling fully. Excavating again after the wall is finished is much harder than fixing a problem now.
Common mistakes
No discharge point planned. A pipe that does not discharge fills with water and the system stops working. Plan the outlet before laying the pipe.
No geotextile fabric. Soil fines wash into the gravel within a year or two and the drainage layer turns into mud. Fabric is cheap and prevents the most common long-term failure.
Insufficient fall. A pipe that is flat or has reverse falls holds water at the flat spots. The standing water defeats the purpose of the drainage.
Pipe without a sock. Sediment enters the slots and silts the pipe up internally. By the time it shows up as a problem, the pipe needs to be excavated and replaced.
Discharge into a structural footing. Soaking water against your own house footing or a neighbour’s is one of the worst possible outcomes. Take the water well clear of any structure.
Retaining wall drainage: FAQ
Why does my existing retaining wall weep through the face?
Water is accumulating behind it and finding its way through whatever joints or gaps it can. The drainage layer (if there ever was one) has either silted up or was never installed properly. The fix is to excavate behind the wall and rebuild the drainage, which is significantly more work than building it correctly the first time.
How far below the bottom of the wall should the ag-pipe sit?
At least 100 mm below the lowest point of the wall structure. The pipe needs to catch water before it reaches the wall material, not at the same level as it. For taller walls and walls in clay soil, deeper is better.
Can I use weep holes instead of a drainage layer?
Weep holes (small openings through the wall face that let water drain through) are a poor substitute for a proper drainage layer. They blow out the gravel they connect to and stain the wall face. A properly drained wall does not need weep holes; a wall without drainage cannot be saved by weep holes alone.
Newsletter
Follow the build
One documented Coorparoo project - the costs, the approvals, the calls we would reverse. Lessons that translate, straight to your inbox.