How to Lay a Base for Pavers
A paved area only stays flat as long as the base under it does. Get the road base depth, compaction and bedding sand right and the pavers will sit true for decades. Skip a step and you will be lifting, re-bedding and resetting within a year or two.
What the base does
The base layer spreads load across the soil underneath. Without it, every footstep or vehicle wheel concentrates pressure at the paver edges, pushing them down differentially. A compacted road base layer takes that pressure and spreads it laterally across a wider area, which keeps each paver in the same vertical position relative to its neighbours.
The depth calculation
Total excavation depth equals:
- 50 mm of compacted road base (minimum for foot traffic, more for vehicles)
- 20-30 mm of bedding sand
- The thickness of your paver (typically 40 mm for foot traffic, 60 mm or thicker for driveways)
For a foot-traffic path with 40 mm pavers, dig out 110-120 mm below the finished surface level. For a driveway with 60 mm pavers, dig out 150-180 mm and increase the road base layer to at least 100 mm.

Tools and materials
- Spade and shovel
- Wheelbarrow
- Rake
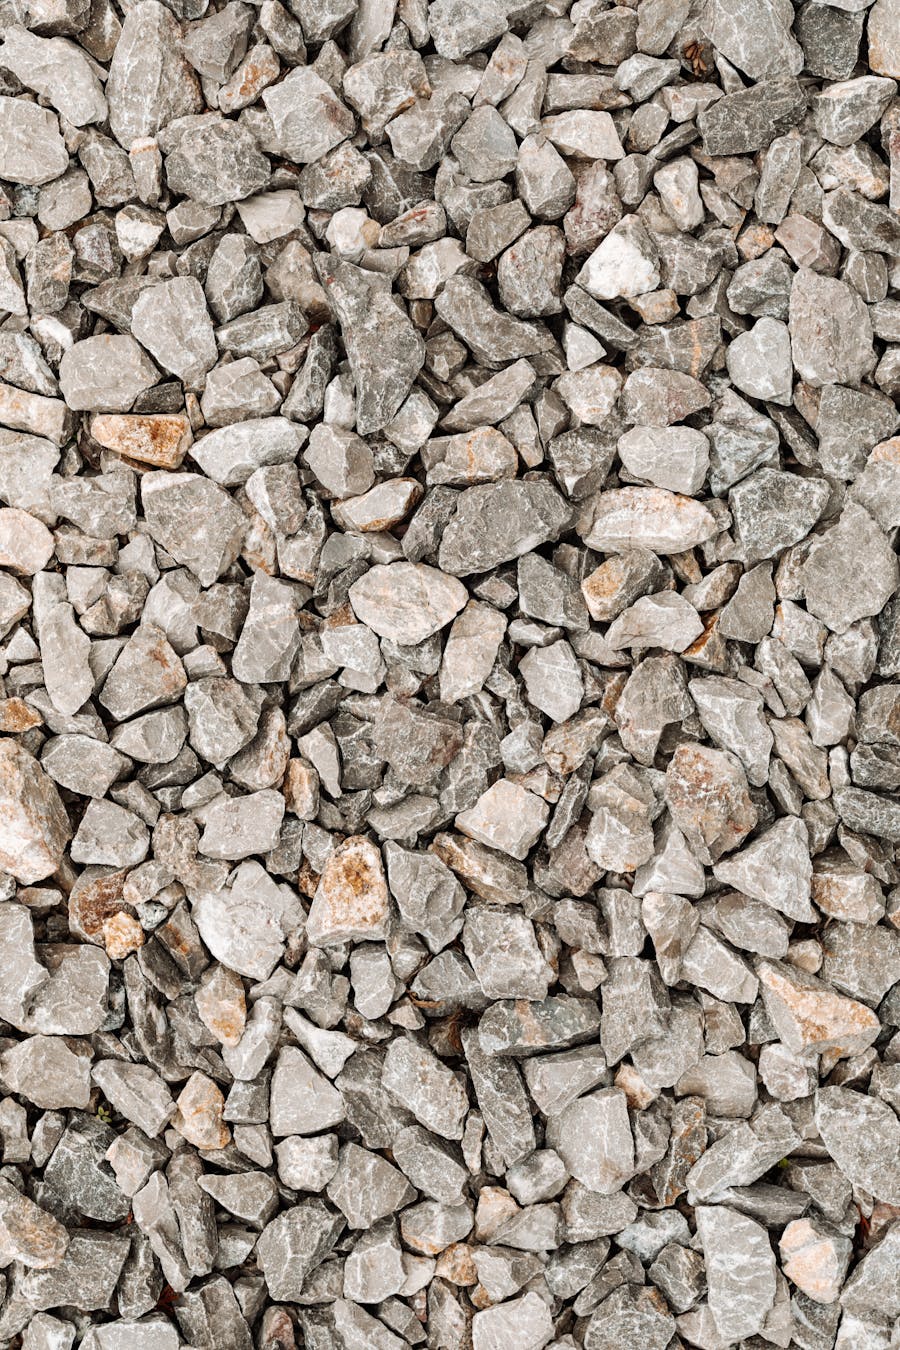
- Road base (calculate volume by area times depth)
- Bedding sand (calculate volume by area times depth)
- Screed rails (25 mm or 30 mm hollow box section, two lengths)
- Long screed board (straight 100 x 50 mm timber, or aluminium box section)
- Plate compactor (hire for anything over a few square metres) or hand tamper for small jobs
- String lines and pegs
- Spirit level, tape measure
- Edge restraints (timber, plastic or concrete) if not bordered by structures
Step 1: Set out the area
Mark the corners with pegs. Run string lines between the pegs at the finished paver surface level. The string lines define both the perimeter and the levels you will work to.
Set the strings with the correct fall - paved areas should drain at 1 to 2 degrees away from any structure. A 5 metre run should drop roughly 80-90 mm across that length. Anything flatter and water sits on the pavers; anything steeper and the slope becomes uncomfortable to walk on.
Step 2: Excavate
Dig out the marked area to the calculated total depth. Take the cut down evenly across the area rather than going deep in one corner first - a level base on a level cut is much easier than levelling on an undulating cut.
Remove all organic material (grass, roots, topsoil) from the excavation. Organic material decomposes over time and creates voids under the paving.
Step 3: Edge restraints
If the paving will not be bordered by a building, fence or kerb on all sides, install edge restraints before adding the base. Edge restraints stop the pavers spreading sideways under load.
Options include treated timber, plastic paver edging, or a poured concrete haunch along the open edges.
Step 4: Lay and level the road base
Spread road base across the excavation in a layer roughly 60-70 mm thick (it compacts down by about 20 percent). Rake it level using the string lines as a guide.
Lightly wet the surface with a hose - damp road base compacts more readily than dry. Avoid making it wet enough to puddle.
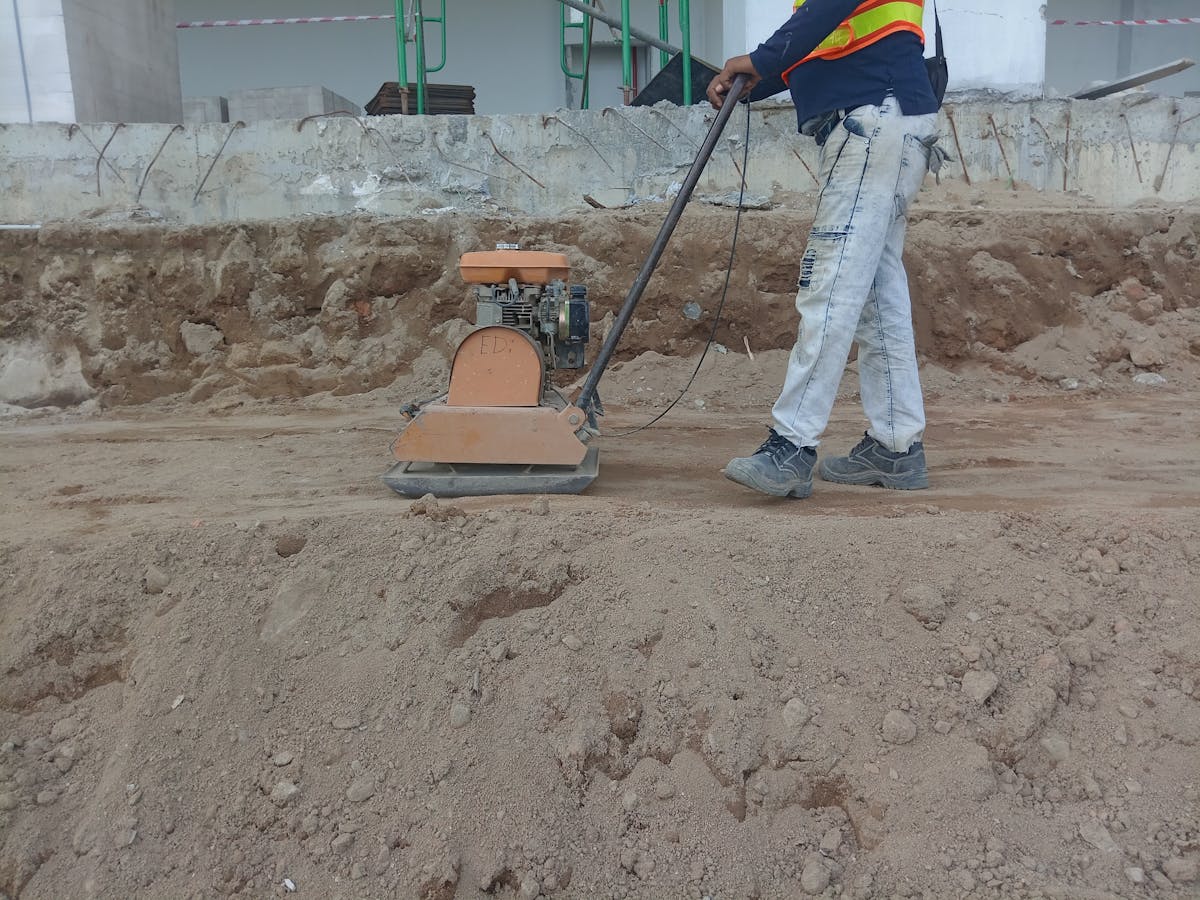
Step 5: Compact the road base
Run the plate compactor across the entire area in overlapping passes. Make at least three passes, changing direction by 90 degrees between passes.
After compaction, check the surface for low spots or high spots. Add road base to low spots, scrape down high spots, lightly wet and compact again.
Good compacted road base should feel firm under foot and leave no visible footprint when you walk on it.
Step 6: Set the screed rails
Lay two screed rails (25 mm or 30 mm box section) across the area, parallel to each other and roughly the length of your screed board apart. Set them at the level the top of the bedding sand should sit (typically 25-30 mm above the compacted road base).
The rails are guides for the screed board. Anything dragged across them will be levelled to the same height as their top.
Step 7: Spread and screed the bedding sand
Tip bedding sand into the area between the rails and rake it slightly higher than the rails. Draw the screed board across the rails in a side-to-side sawing motion, smoothing the sand down to the rail height.
Work in sections - screed an area roughly 2 metres ahead of where you are laying pavers, then move forward as you go.
After screeding, lift the rails out carefully and fill the channels they leave with sand. Use a trowel to smooth any remaining unevenness.
Do not walk on the screeded sand. Footprints in screeded sand transfer directly to bumps and dips in the finished paving.
Step 8: Lay the pavers
Start at a fixed edge (the building line, a kerb or a corner) and work outward. Place each paver firmly into the bedding sand and tap it level with a rubber mallet. Maintain a consistent 3 mm gap between pavers for jointing sand.
Check level frequently across the area, both along each row and between rows. Adjust by tapping the paver with the mallet or, if it has dropped too far, lifting it, adding bedding sand underneath and re-laying.
Step 9: Joint the pavers
Once all pavers are laid, sweep fine jointing sand across the surface and into the gaps between pavers. Run the plate compactor across the laid pavers (with a rubber mat under the compactor to protect the paver surface) to settle them into the bedding sand and shake the jointing sand fully down into the gaps.
Top up the jointing sand and repeat until the joints are full to within 2-3 mm of the paver surface.
Common mistakes
Insufficient excavation depth. Pavers laid too shallow have no base to spread load and will dish under foot or vehicle traffic.
Uncompacted or under-compacted road base. Settles over weeks. The paving ends up uneven and the joints open.
No fall. Water sits on the pavers, accelerates jointing sand loss and grows algae. Build the fall into the base, not just the surface.
Walking on the bedding sand. Footprints become visible defects in the finished paving.
No edge restraints on free edges. Pavers spread sideways under load and the joints open from the outside in.
Paver base: FAQ
Can I use builder's sand instead of bedding sand?
No. Builder's sand is too fine and holds moisture, which causes uneven settling. Bedding sand (also called paver sand) is a washed, coarser sand that drains and stays stable. Buying the wrong sand to save a few dollars will cost a lot more in rework.
How much road base do I need for a 10 m² area at 50 mm depth?
About 0.6 cubic metres after compaction. Road base compacts down by roughly 20 percent, so order around 0.75 cubic metres to allow for the compaction loss. Yards and landscape suppliers sell by the cubic metre.
Do I need geofabric under the road base?
On stable soil, no. On soft, sandy or clay soil, a geotextile fabric between the natural ground and the road base prevents the base mixing into the soil over time. It is cheap insurance on poor soils.
Newsletter
Follow the build
One documented Coorparoo project - the costs, the approvals, the calls we would reverse. Lessons that translate, straight to your inbox.