How to Lay Laminate Flooring as a Floating Floor
Laminate as a floating floor is one of the more forgiving DIY flooring jobs. The boards click together and rest on top of an underlay, with no nails, screws or glue into the substrate. The two things that catch people out are the expansion gap and the underlay specification.
What floating means
A floating floor is not fixed to the substrate. The boards lock together and rest on a layer of underlay, free to move slightly with temperature and humidity changes. That movement is why every floating floor needs a perimeter expansion gap and it is why you must never nail or screw a laminate plank down.
If a floating floor cannot expand, it will buckle (lift in the middle of the room or at a joint), the click joints will pop or, at worst, the planks will crack. All three are visible and none can be fixed without lifting the floor.

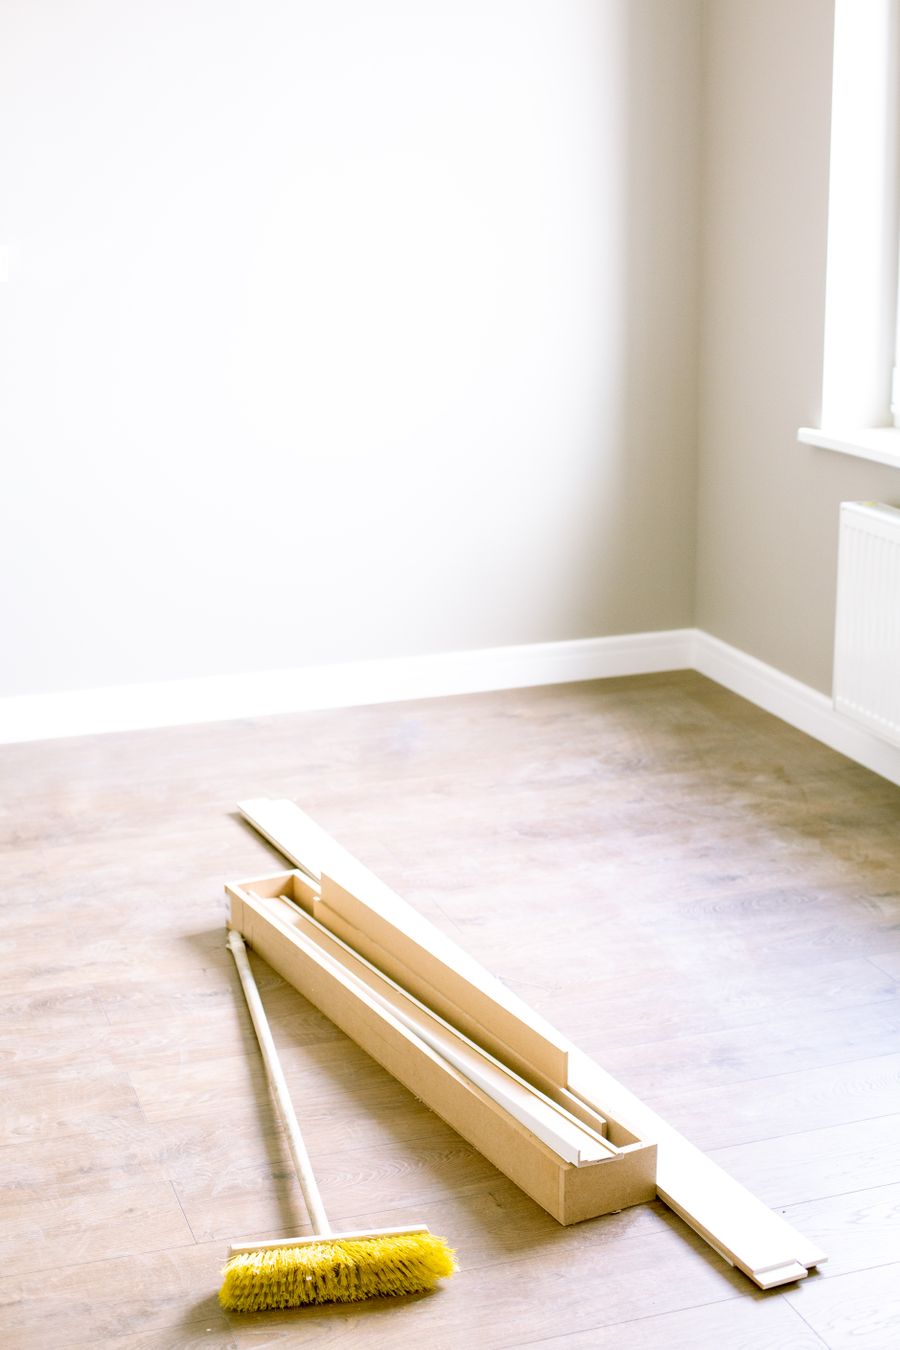
Tools and materials
- Laminate planks (room area plus 10 percent for cuts)
- Underlay (see below for selection)
- Tapping block, pull bar, rubber mallet
- 10 mm spacers (a laying kit usually includes these)
- Utility knife, fine-tooth saw or laminate cutter
- Pencil, square, tape measure
- Long straightedge
Step 1: Substrate check
Laminate over timber: the floor must be solid, level and free of squeaks. Tighten any loose boards into the joists. Plane any high spots.
Laminate over concrete: check the slab is dry, flat and clean. Same flatness tolerance as for vinyl - 3 mm over 2 m. Self-levelling compound fixes low spots; grinding fixes high spots.
The underlay can compensate for very minor surface irregularities, but it cannot fix a substrate that is more than a few millimetres out of true. The click joints flex over bumps and eventually fail.
Step 2: Choose the right underlay
Underlay does three jobs: cushioning, sound dampening and (over concrete) moisture protection.
- Foam underlay is the cheapest and works fine over timber. Not suitable as a moisture barrier on concrete.
- Combined foam plus moisture barrier is standard over a concrete slab. The barrier layer faces up against the laminate.
- Cork or rubber underlay dampens sound better and is worth the extra cost in upstairs rooms.
- Hybrid laminate with pre-attached underlay does not need additional underlay (and adding one is usually a warranty violation - check the manufacturer’s spec).
Step 3: Acclimatise the planks
Bring the unopened boxes into the room and leave them flat for at least 48 hours. Some manufacturers specify longer. Laminate moves with humidity; installing planks that have not equalised to the room conditions causes joints to open or buckle later.
Step 4: Plan the layout
Two layout decisions that affect the final look:
Direction. Run the planks parallel to the longest wall or perpendicular to the main light source. Running planks toward a window can make the floor look fragmented; running them away from a window makes the room look longer.
First and last row widths. Measure the room, divide by the plank width, work out what the last row will be. If the last row is less than a third of a plank wide, rip the first row narrower to balance the two ends. A balanced first and last row looks intentional. An offcut at one end looks like a mistake.
Step 5: Lay the underlay
Roll out the underlay across the room. Most underlays come in rolls that meet edge-to-edge with taped seams - do not overlap them, as the double thickness creates a ridge that will telegraph through the laminate.
Tape the seams between rolls and trim the edges flush against the walls. The underlay should cover the floor completely with no gaps and no overlaps.
Lay underlay in sections, working from right to left and only roll out as much as you can cover with planks in a session. Walking across exposed underlay flattens it unevenly.
Step 6: Lay the first row
Place 10 mm spacers against the starting wall on both the long and short sides. The first row determines the alignment of everything that follows, so spend time getting it straight.
Click the planks together end-to-end. Cut the last plank to length and use the offcut to start the next row, provided it is longer than 300 mm. If it is shorter, start the next row with a freshly cut plank to maintain the stagger.
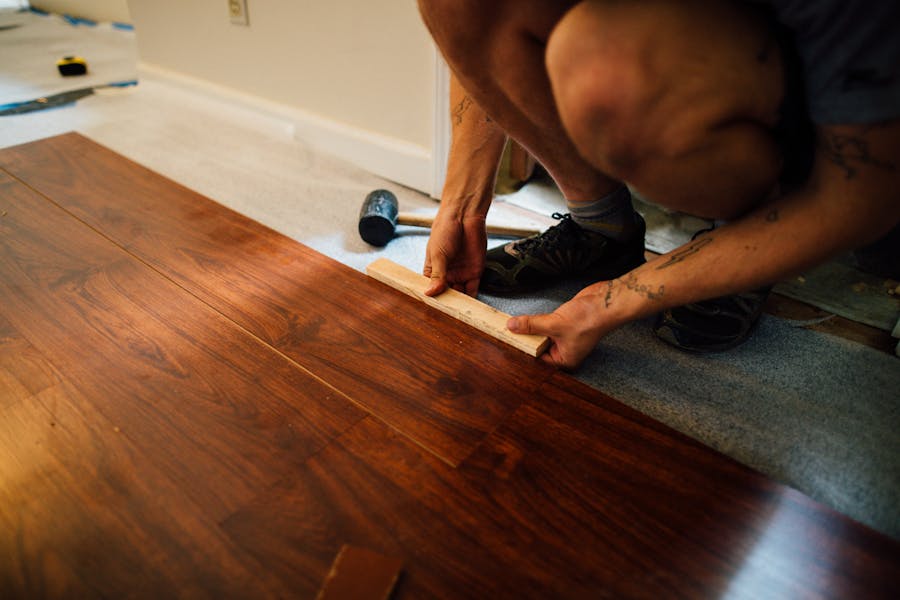
Step 7: Build out from the first row
Lift the long edge of the new plank at about 20 degrees, engage the click joint with the previous row and lower it flat. Slide it along to engage the short joint with the previous plank, again at an angle, then lower.
Use the tapping block to close any stubborn joints. Never hit the plank directly with the mallet - the locking edge will deform and the joint will fail.
The pull bar is for the last plank in each row where there is no room to swing the mallet. Hook the bar over the plank end, tap the bar with the mallet and the joint closes from the side.
Step 8: Last row
Measure the gap between the second-last row and the wall, subtract the 10 mm expansion gap, mark the planks, rip to width with a fine-tooth saw or laminate cutter and click in. The pull bar handles the final joint from above.
Step 9: Skirtings and thresholds
Pull the spacers, replace the skirting boards (which cover the perimeter expansion gap) and install transition strips at every doorway where the laminate meets another floor finish.
The expansion gap must continue under the skirting - do not glue or nail the skirting down through the laminate. Fix the skirting to the wall only.
Common mistakes
Continuing the floor under the skirting without a gap. The floor expands sideways, hits the wall and lifts at the joints. This is the most common failure mode in DIY laminate.
Lining up end joints in adjacent rows. Creates a visible weak point that flexes and eventually pops.
Doubling up underlay on a pre-cushioned plank. Voids the warranty and causes joint failure.
Forcing a click joint sideways with the mallet. The locking profile deforms and the joint will open within months.
Laying over a substrate that is not flat. The click joints rock over high or low spots, eventually fail and create visible bounce.
Laminate flooring: FAQ
How is laminate different from vinyl plank?
Laminate has a fibreboard core, vinyl plank has a plastic core. Vinyl is more moisture-resistant and more flexible; laminate is harder, more scratch-resistant and gives a more rigid feel underfoot. Laminate is generally not suitable for bathrooms or laundries, vinyl plank is.
Can I install laminate over an existing tile floor?
Yes, if the tiles are sound, well-bonded and flat. The grout lines are the issue - a thicker underlay will bridge them, but heavily textured or uneven tile floors should be assessed for flatness first. Self-levelling compound over tiles is an option.
Why does my floor sound hollow underfoot?
Usually one of three things: the underlay is too thin or compressed, the substrate is not flat enough, or there is a void below the floor (such as a missing patch of underlay). A hollow sound on one area only is almost always a flatness issue at that spot.
Newsletter
Follow the build
One documented Coorparoo project - the costs, the approvals, the calls we would reverse. Lessons that translate, straight to your inbox.