How to Patch a Plaster Wall
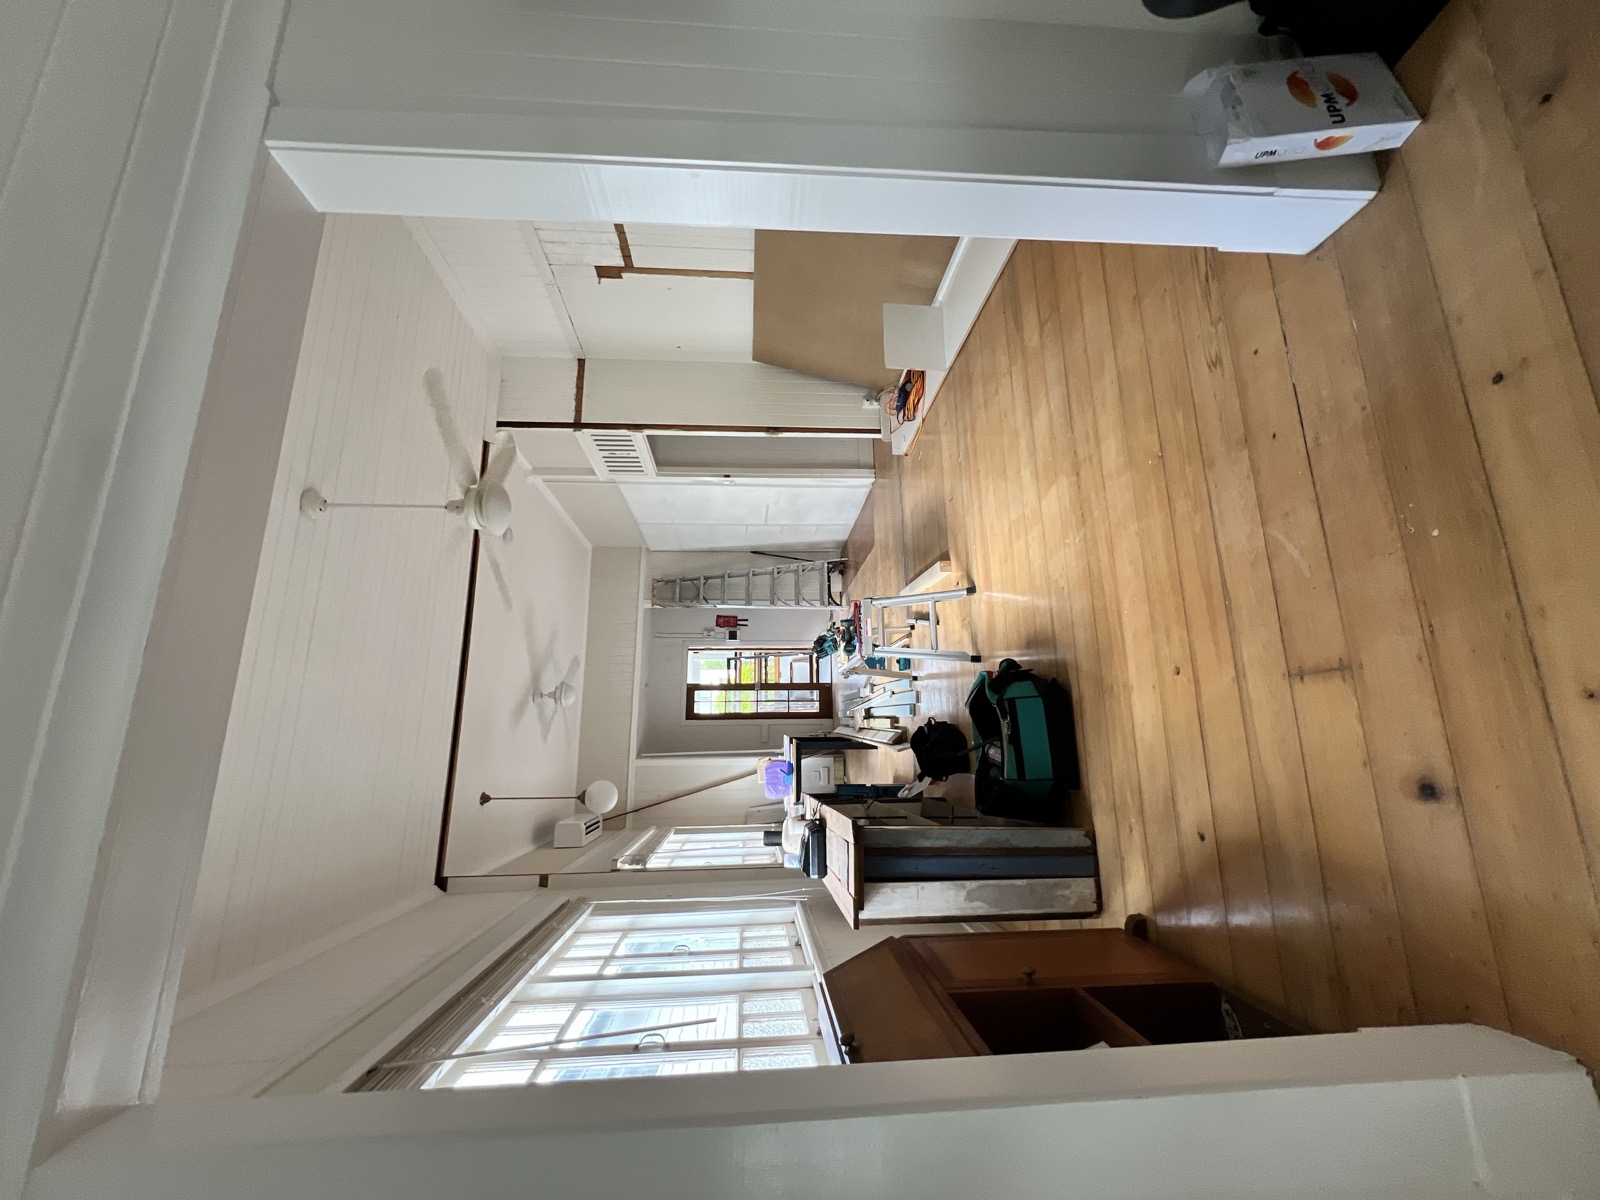
A plaster patch is a small repair with a big consistency problem. Too thick and it shrinks. Too proud and it telegraphs through the paint. Done in layers and sanded flush, it disappears.
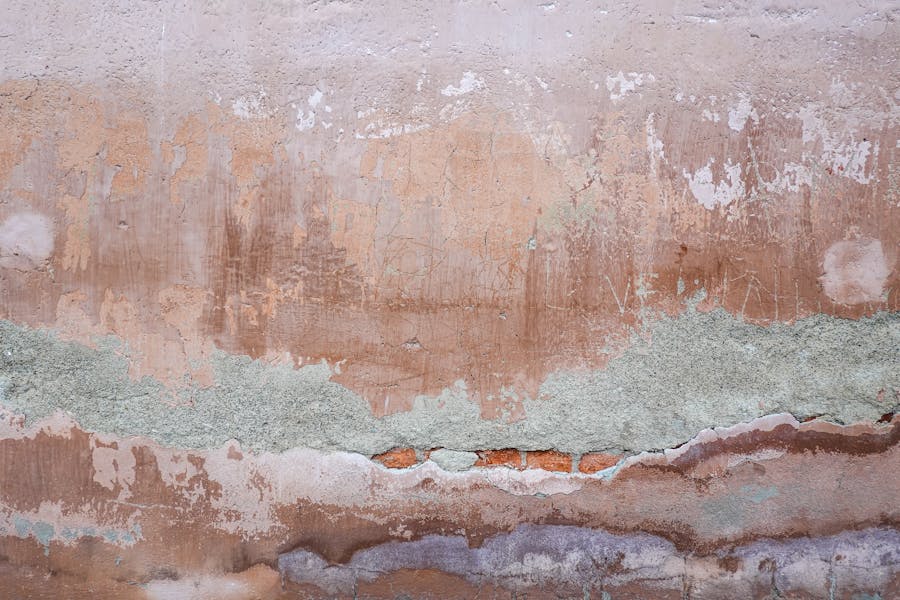
When to patch vs. replace
Patch small holes (up to about 50 mm), hairline cracks and gouges. Replace the sheet when the damage is structural, when more than a quarter of the panel is involved, or when the back of the plasterboard has separated from the framing. Patching over a wall that is failing structurally just delays the repair.
What you need
- Utility knife (for widening cracks)
- Putty knife or filling blade, 50-100 mm
- Multipurpose interior plaster filler (joint compound)
- Patching mesh or paper tape (for cracks longer than 100 mm or anything moving)
- Sandpaper in 120 and 180 grit
- Sanding block
- Damp sponge or cloth
- Dust mask, primer
Patching a small hole
1. Clean the edge
Run the utility knife around the inside of the hole to remove loose plaster and any paper that is bridging the gap. The filler needs to key into firm material, not into crumbs.
2. First fill
Press filler into the hole with the putty knife at a low angle so it goes all the way to the back of the cavity, not just across the front. Smooth it level with the wall and wipe excess off the surrounding area with a damp sponge while it is still workable.
3. Let it dry, then second fill
Plaster filler shrinks slightly as it cures. After the first coat is fully dry (check the product datasheet, usually two to four hours for thin coats), top it up with a thinner second pass that feathers a few centimetres beyond the hole. This second coat is the one that disappears.
4. Sand flush
Once fully dry, sand with 120 grit using a block to keep the area flat, then knock back the feathered edges with 180. Sight along the wall under raking light - any ridge will catch the light and show through paint.
5. Dust, prime, paint
Wipe dust off, spot prime the patch (filler absorbs colour differently to surrounding paint), then topcoat.
Patching a crack
Hairline cracks open up under filler unless the technique accounts for the movement that caused them.

1. Widen the crack
Run the utility knife along the crack at a slight angle to open it into a shallow V. This sounds counterintuitive, but a wider crack holds more filler and gives a stronger repair.
2. Clean and dampen
Dust out the crack with a brush. Lightly damp the inside with a wet finger or sponge, so the filler does not dry too quickly and pull away from the edges.
3. Fill and tape (if needed)
For cracks longer than about 100 mm, or anywhere movement is likely (corners, ceiling joins, around door frames), embed paper tape or self-adhesive mesh into the first coat of filler. The tape spans the crack and stops it reopening through the patch.
For short, stable hairlines, fill directly without tape.
4. Second coat, sand, prime
As with hole patching. Feather the second coat well past the crack edges and sand flat.
Common mistakes
Filling too thick in one pass. Causes shrinkage cracks down the centre of the patch as it dries. Always do thin layers with drying time between.
Skipping the second coat. The first coat shrinks. Without a feathered second coat, the patch sits below the surrounding wall and shows as a depression under paint.
Not feathering the edges. A patch that ends in a hard line will be visible through any paint sheen above flat. Feather every coat further than the last.
No spot prime. Bare filler absorbs paint at a different rate than the surrounding wall and flashes (shows as a duller patch) under the topcoat.
Plaster patching: FAQ
What is the difference between joint compound and plaster filler?
Joint compound (multipurpose plaster filler in Australian terminology) is a pre-mixed paste used for plasterboard joins and small repairs. Setting compound is a powder you mix with water that cures harder and faster, but is less forgiving to sand. For most patches, multipurpose filler is the right choice.
How do I patch a hole bigger than 50 mm?
Cut back to a square opening, cut a plasterboard offcut to fit, fix backing battens behind the opening, screw the offcut to the battens, then tape and fill the joins. A wet patch (filler-only) at large diameters will sag.
Why does my patch keep cracking?
Three common causes: too thick a single coat, no tape across a moving crack, or the underlying substrate is still moving (settlement, frame shrinkage, vibration). Fix the cause, not just the surface.
Newsletter
Follow the build
One documented Coorparoo project - the costs, the approvals, the calls we would reverse. Lessons that translate, straight to your inbox.