How to Prepare an Interior Wall for Painting
Most paint failures trace back to one thing: the surface was not prepared properly. A wall that looks fine to the eye can carry dust, grease, lime bloom or loose flakes that stop paint adhering. The order matters more than the products, in particular for older walls.
Why prep matters more than paint
A premium paint applied over a contaminated surface will fail faster than a budget paint applied over a properly prepared one. The film needs to bond to the substrate, not to dust, oil or loose material sitting on top of it. Skipping prep does not save time, it just defers the cost - you will repaint sooner.
What you need
- Sugar soap (concentrate or ready-to-use wipes)
- Bucket of clean warm water
- Two sponges (one for sugar soap, one for rinse)
- 50 mm paint scraper
- Putty knife
- Multipurpose plaster filler (interior grade)
- Sandpaper in 120, 180 and 240 grit
- Sanding block or pole sander
- Dust mask, drop sheets, painter’s tape
The order

1. Protect the room
Lift furniture out where you can and cover what stays with drop sheets. Tape edges of skirting boards, architraves and cornices. Removing the protection later is faster than scrubbing paint off trim.
2. Wash the wall
Mix sugar soap to the manufacturer’s directions and work top to bottom, one section at a time. Rinse with clean water using the second sponge. Sugar soap lifts grease, nicotine and old polish residues that water alone will not move.
In kitchens, bathrooms and laundries, wash twice. These rooms accumulate cooking oil, soap film and steam residue that defeats single passes.
3. Scrape loose paint
Hold the scraper at roughly 45 degrees and work back any flaking edges until you reach paint that is firmly bonded. Do not chase failure further than it goes. If the failure is widespread, the substrate may need stripping back to bare plaster, so plan for that scope before continuing.
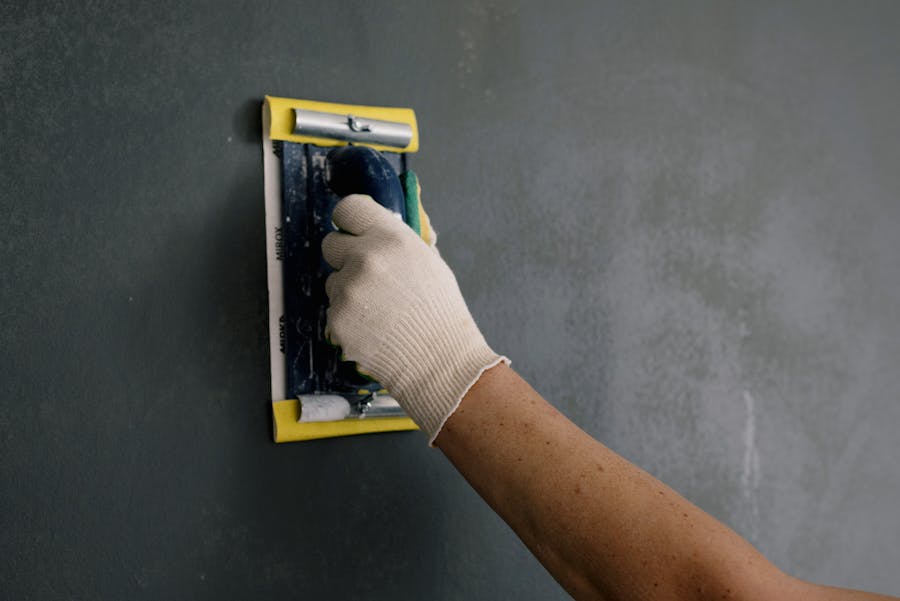
4. Fill holes and cracks
Press multipurpose filler into the defect with the putty knife. For anything deeper than a couple of millimetres, fill in layers and let each layer dry before adding the next. Filler applied too thick in one pass will shrink and crack as it cures.
For hairline cracks at junctions (wall-to-cornice, wall-to-architrave), widen the crack slightly with the scraper first, so the filler has something to key into.
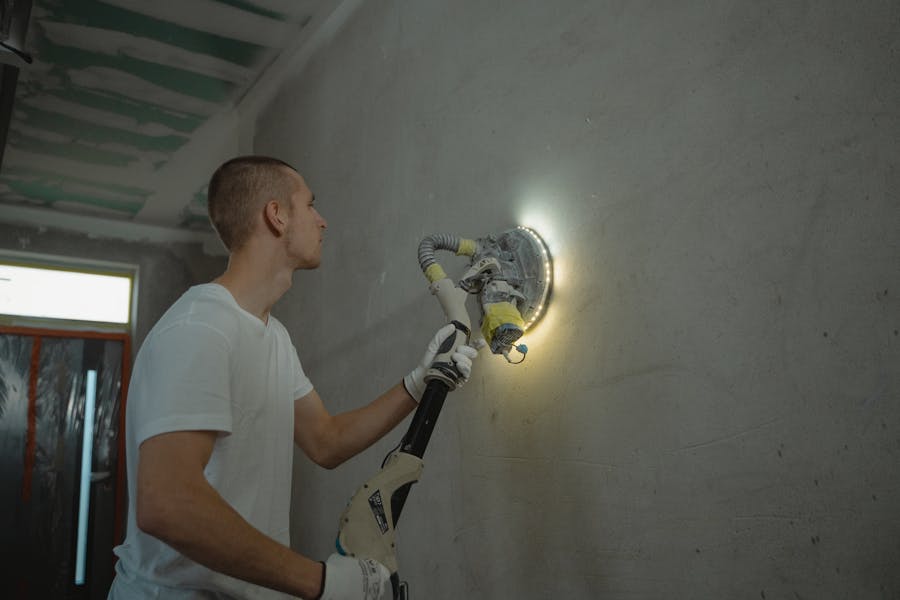
5. Sand
Work the filled areas back flush with 120 grit, then knock back the whole wall with 180 to break the surface. Finish high-visibility walls with 240. Use a sanding block on flats, a pole sander for ceilings and high walls.
The goal is a uniform matt surface with no glossy patches. Glossy patches are paint that will not key.
6. Dust off
Wipe down with a dry microfibre or a tack cloth. Skipping this step traps dust under the primer.
7. Spot prime
Any bare plaster, filler or stained area gets a spot prime before the topcoat. Bare patches drink colour at a different rate, so without spot priming, the finish coat will telegraph through as a halo or flash.
Common issues and how to handle them
Walls that taste like chalk. Old distemper or limewash will rub off on a wet finger. These coatings cannot be painted over directly. Wash back as much as you can and seal with a binding primer designed for chalky surfaces.
Mould spots in bathrooms. Bleach solution (one part household bleach to three parts water), leave 15 minutes, rinse, dry, then a mould-killing primer before topcoat. Do not paint over visible mould.
Stains that keep bleeding through. Water stains, smoke and tannin bleed will telegraph through standard primers. Use a stain-blocking primer (shellac-based or pigmented oil-based) on those spots only.
Cracks at every junction. Likely structural movement, not a paint problem. Flexible paintable acrylic sealant at junctions, plaster filler on the flats.
Wall prep: FAQ
Do I need to sugar soap a new plasterboard wall?
No. New unpainted plasterboard does not need sugar soap. Dust it off, spot prime any high spots and apply a plasterboard sealer before the topcoat.
How long after washing should I wait before painting?
At least 24 hours to allow the wall to dry fully. Painting onto a damp wall traps moisture under the film and causes adhesion failure. In humid Brisbane conditions, give it longer or use a fan.
Can I skip primer if I am using a self-priming paint?
On previously painted walls in good condition, yes. On bare plaster, filled patches, stained areas or substrate transitions, no. Self-priming paint is one coat doing two jobs and works best when the substrate is uniform.
Newsletter
Follow the build
One documented Coorparoo project - the costs, the approvals, the calls we would reverse. Lessons that translate, straight to your inbox.