How to Seal White Set Plaster Before Painting
White set plaster is the smooth, hard finish on the walls of most pre-war Brisbane homes. It contains lime and lime burns modern water-based paints if you brush them directly onto bare or freshly washed plaster. The fix is a specific sealing step before the first topcoat, not a heavier paint.
What white set plaster is
A traditional plaster system in a pre-war Queenslander typically has three coats:
- Render coat (scratch coat): a thick, sand-heavy mix bonded to the lath or substrate
- Float coat: a coarser intermediate layer that flattens the wall
- White set: a thin, lime-rich finishing coat that gives the smooth surface paint sits on
The white set layer is what your topcoat actually has to bond to. Because it is lime-rich, fresh or disturbed white set is alkaline. Standard acrylic paints will react with the alkalinity and either fail to cure properly, change colour or develop a chalky bloom over months.

Why sealing matters
Skipping the seal causes three failure modes:
- Lime burn. The paint binder reacts with alkaline lime and softens, leading to bubbling or peeling within months.
- Colour shift. Some pigments (in particular blues and reds) shift visibly when applied over alkaline surfaces.
- Chalking. A topcoat applied directly over fresh white set may develop a powdery surface as the lime continues to cure through it.
What you need
- Sealer-undercoat designed for new or fresh plaster (often labelled “for fresh masonry and plaster” or “alkali-resistant primer”)
- Quality 75 mm cutting-in brush
- 230 mm roller frame and 11 mm nap sleeve
- Drop sheets and painter’s tape
- Optional: acrylic crack filler for hairlines you spot during prep
The order
1. Confirm what you are dealing with
If you are unsure whether the wall is white set or set plasterboard, the test is simple. Lightly scratch an inconspicuous corner with a coin. White set is very hard and gives a fine white powder. Plasterboard joint compound is softer and the paper face shows through quickly.
2. Surface prep
Vacuum and dust the wall. Wash with clean water (not sugar soap on fresh white set, sugar soap is too aggressive on the lime finish). Let the wall dry fully - at least 24 hours, longer in humid weather.
3. Seal coat
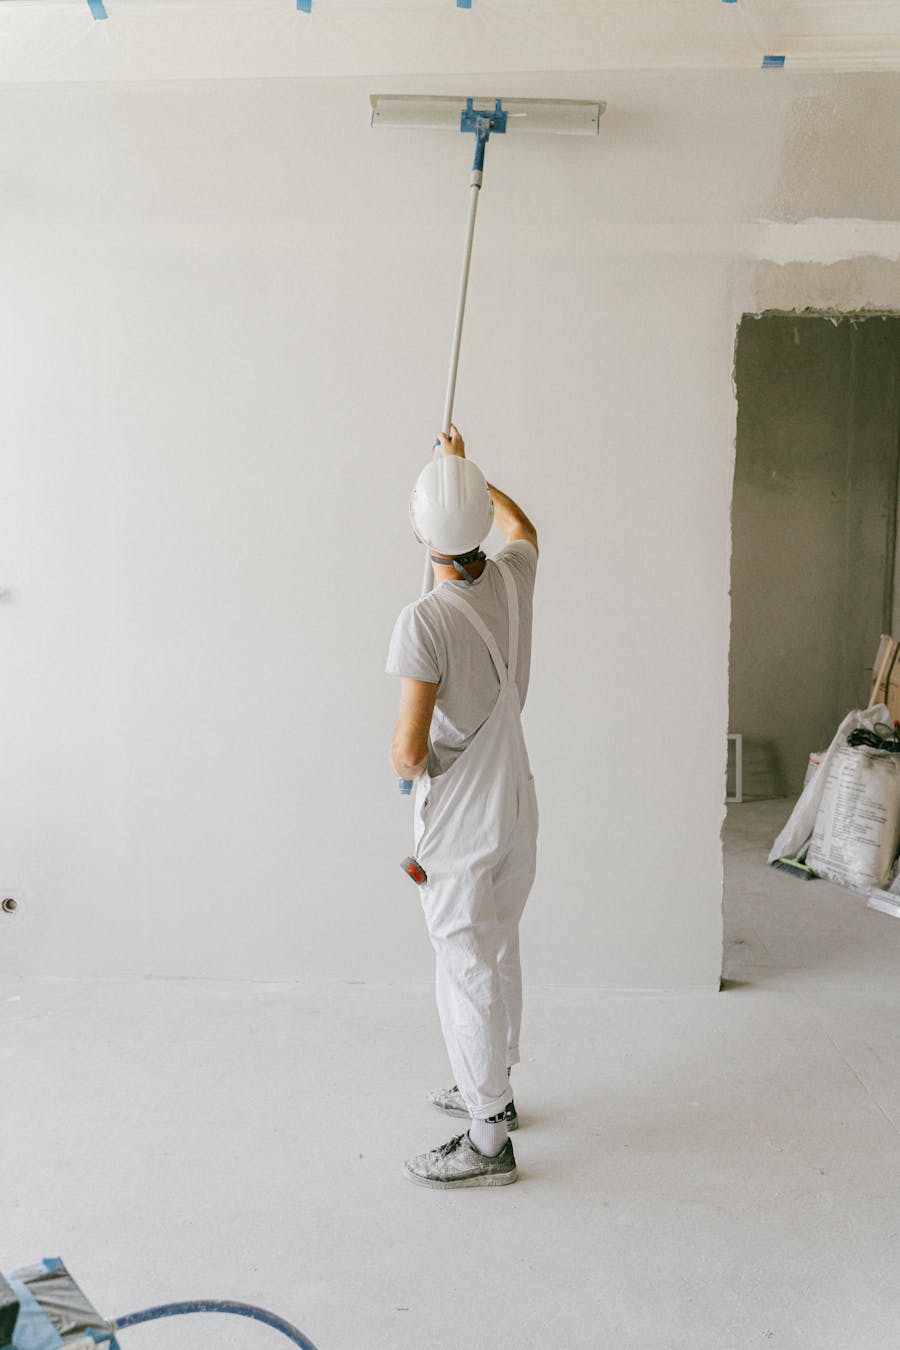
Apply one full coat of alkali-resistant sealer-undercoat. Cut in edges with the brush, then roll the flats with the 11 mm nap. Lay off in long vertical strokes, so the finish is uniform.
The sealer does two things at once: it neutralises the surface chemistry the topcoat will sit on and it evens out the substrate’s absorbency, so the topcoat covers in two coats rather than three.
4. Spot-fill any defects you missed
After the sealer dries, raking light will show hairline cracks or pinholes you could not see on bare plaster. Fill them now with acrylic filler, spot-prime with sealer, then proceed to topcoat.
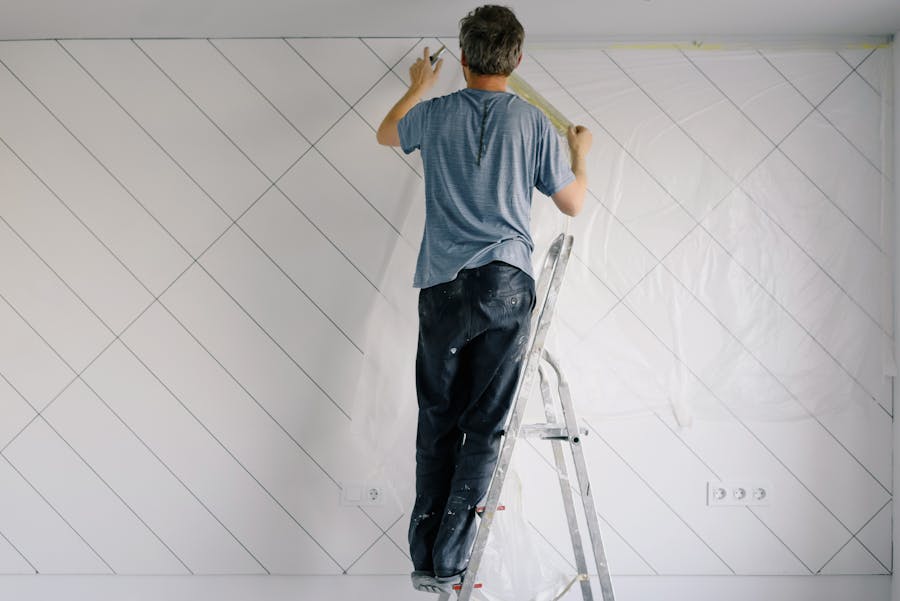
5. Topcoat
Two coats of your chosen finish paint, allowing full recoat time between (read the label, typically two to four hours touch dry, but longer for full cure in humid conditions).
When you can skip the sealer
You can usually skip the sealer on white set that:
- Has been painted for decades with no visible issues (the existing paint film has already isolated the lime)
- Is being touched up in spots only and the rest of the wall is sound
Even then, spot-prime any bare patches you have exposed during prep. The sealer is cheap insurance against the patch flashing through the topcoat.
Common mistakes
Using a standard plasterboard sealer. Plasterboard sealers are designed for plasterboard’s absorbency, not for alkaline lime surfaces. They will not stop lime burn. Use an alkali-resistant product specifically.
Painting too soon after a repair. A fresh skim of white set is at its most reactive in the first two to four weeks. Wait the manufacturer’s recommended cure time before sealing.
Two coats of topcoat with no sealer. Two coats does not fix an unsealed substrate. The lime reacts with both coats. The wall will still fail.
Washing with sugar soap. On fresh white set, sugar soap can pull the lime to the surface and make the alkalinity problem worse. Water and a soft sponge is enough.
Sealing white set plaster: FAQ
How long should I wait before painting freshly applied white set?
Plasterers usually quote four weeks minimum before any paint or sealer touches a fresh white set finish. The wall needs to cure and the surface lime needs to carbonate. Painting earlier risks lime burn even with a sealer.
Can I use an oil-based sealer on white set?
Yes, traditional oil-based undercoats are effective at isolating alkaline substrates and were the standard before water-based alkali-resistant sealers came along. They are slower drying and harder to clean up. Either type works if rated for alkaline surfaces.
What if the wall has wallpaper that I am removing first?
Strip the wallpaper completely, wash off all remaining paste residue, let the wall dry for several days, then proceed with the sealer step. Paste residue under a sealer will cause adhesion failure later.
Newsletter
Follow the build
One documented Coorparoo project - the costs, the approvals, the calls we would reverse. Lessons that translate, straight to your inbox.