How to Lay Pavers
The base layer carries the load and the bedding sand sets the level, but the pavers themselves are what gets seen. Laying pavers is the visible, satisfying half of the job. The technique below assumes the base and screeded bedding sand are already prepared - if not, start with how to lay a base for pavers first.
Plan the pattern
Decide on the bond pattern before opening the pavers. Common options:
- Stretcher bond. Each row offset by half a paver, like brickwork. Simple to lay, looks clean, hides minor cutting variation.
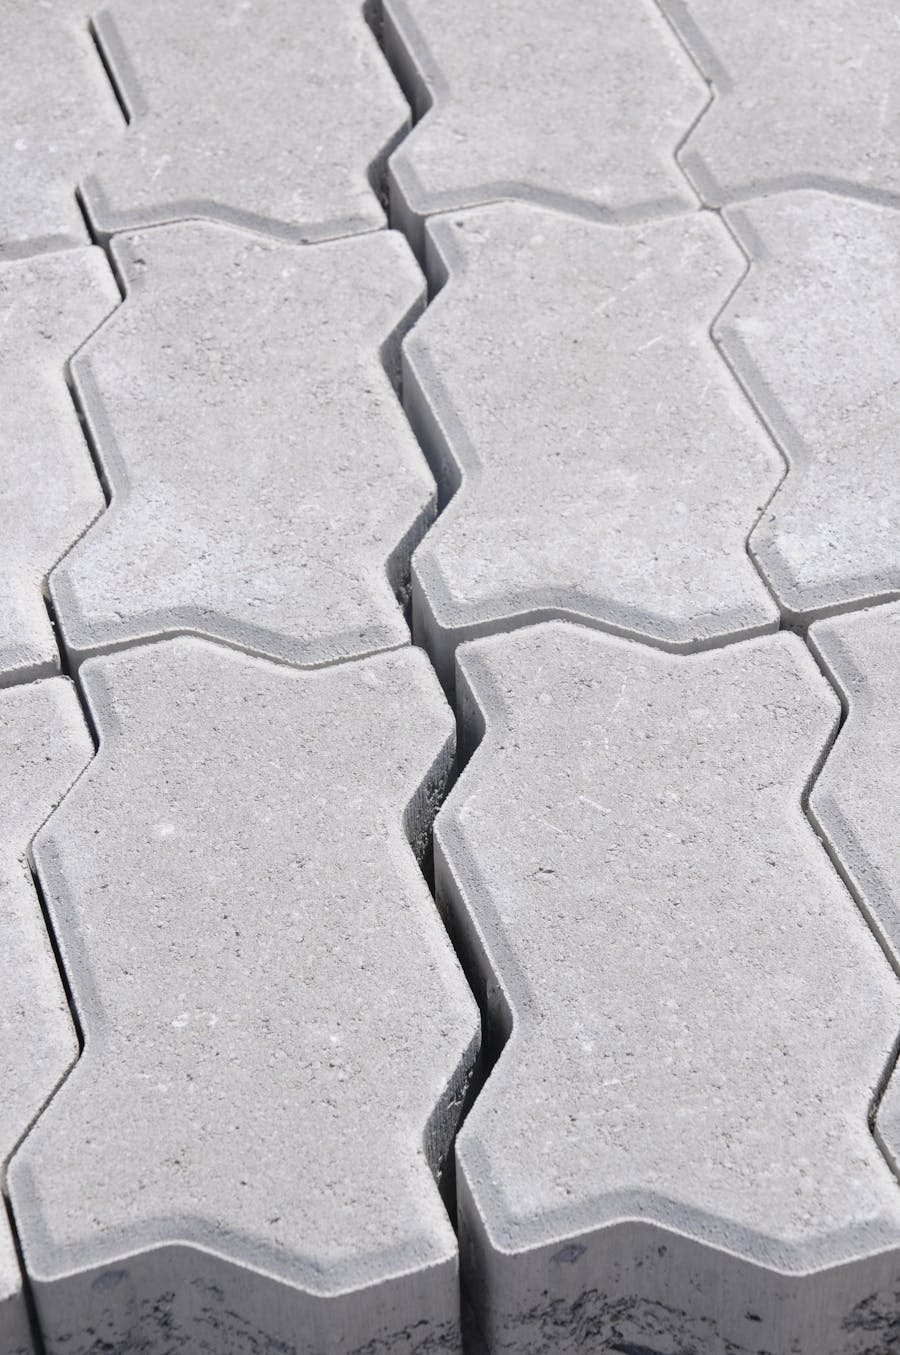
- Herringbone. Pavers at 45 or 90 degrees in an interlocking V pattern. Strongest interlock under vehicle loads. More cutting waste at the edges.
- Stack bond. Joints aligned in both directions. Looks formal, but provides the weakest interlock - avoid for any area with vehicle traffic.
For driveways, herringbone is the strongest pattern and best resists shifting under vehicle wheels. For paths and patios, stretcher bond is the most forgiving choice.

Tools and materials
- Pavers (calculate by area plus 5-10 percent for cuts and waste)
- Bedding sand (already screeded)
- Jointing sand (fine, kiln-dried sand or polymeric sand)
- Rubber mallet
- Brick or paver saw (hire for anything more than a handful of cuts)
- String line and pegs
- Spirit level
- Tape measure, set square
- Plate compactor (with rubber mat to protect pavers)
- Stiff broom for sweeping jointing sand
Step 1: Set a reference line
Stretch a string line across the area along the row you want to start. The first row determines the alignment of every paver that follows, so the line needs to be straight and at the correct angle to whatever you are working against (the building line, a kerb, an edge restraint).
For patterns like herringbone that start at 45 degrees, set out two string lines at the correct angle and start the first paver where they meet.
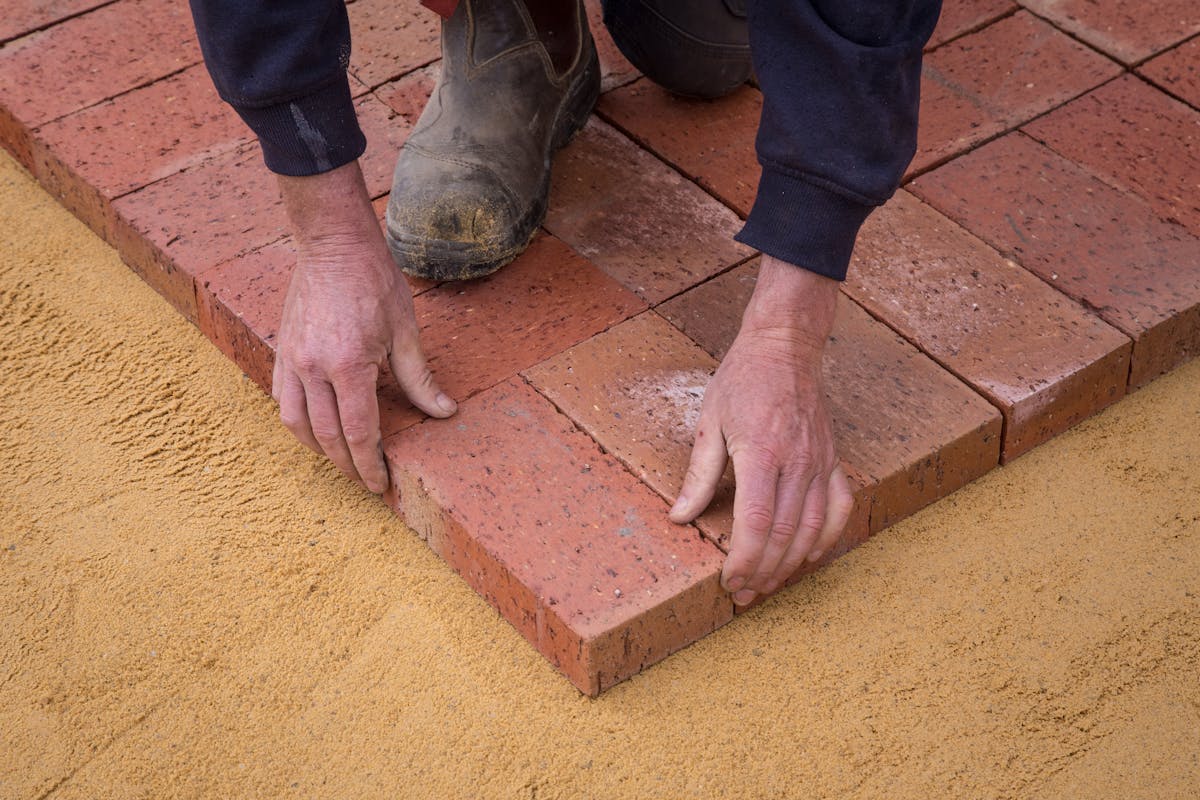
Step 2: Place the first paver
Set the first paver firmly against the reference edge. Push it gently down into the bedding sand and tap it level with a rubber mallet. Check the top sits in line with the string.
The first paver is the most important. If it is high, low or out of square, every subsequent paver compounds the error.
Step 3: Lay the next pavers
Place each subsequent paver close to its neighbour and slide it sideways into final position. Maintain a 3 mm gap between pavers for jointing sand.
Tap each paver down with the mallet, checking level both along the row and across to the neighbouring rows. A consistent paving plane is created paver by paver - it cannot be fixed afterwards.
Step 4: Maintain the gaps
Use small spacers (or just your eye) to keep the gap between pavers at 3 mm consistently. Gaps that vary look amateurish and the jointing sand sits unevenly.
Some pavers come with cast-in spacer nibs that automatically set the gap. If yours do not, work to a visual standard.
Step 5: Cut around edges and obstacles
Mark the cut paver against the obstacle, allowing for the 3 mm gap. Score the line with a saw or chisel, then cut on a brick saw (clean cut) or score-and-snap with a brick bolster (rougher cut, fine for non-visible areas).
A diamond-blade wet saw gives the cleanest cuts and is worth hiring for any project with significant cutting work.
Place cut pavers against fixed edges (walls, kerbs) rather than in the middle of the field. Cuts at the edges are less visible than cuts in the run.
Step 6: Check level frequently
Lay a long straightedge or screed board across the laid pavers in multiple directions every few rows. Any paver sitting proud or low compared to its neighbours should be lifted, the bedding sand adjusted (add for a low paver, scrape for a high one) and re-laid.
Fixing a stray paver while only a few rows are down is a five-minute job. Fixing one after the whole area is paved means lifting and disturbing the surrounding work.
Step 7: Compact the laid pavers
Once all pavers are placed, but before adding jointing sand, run the plate compactor across the entire surface with a rubber mat or thick board under the plate to protect the paver faces.
This compaction step pushes any high pavers down into the bedding sand and gives a final level surface.
Step 8: Joint the pavers
Spread jointing sand across the entire paved area. Sweep it into the gaps between pavers with a stiff broom, working in multiple directions to ensure the sand reaches the bottom of each joint.
Run the plate compactor across the surface again (still with the rubber mat). This vibrates the jointing sand fully into the gaps.
Top up the sand and repeat until the joints are full to within 2-3 mm of the paver surface. Sweep off all excess sand from the paver faces.
For driveways or areas exposed to heavy rain, polymeric jointing sand (which contains a binder activated by water) holds in place better than standard kiln-dried sand. Polymeric sand costs more, but means fewer top-ups over the life of the paving.
Step 9: Settle and inspect
Hose the paving lightly to settle the jointing sand. Avoid blasting water at the joints directly - this washes the sand back out.
Walk the paving the next day to check for any pavers that have shifted, low spots that need topping up with sand, or joints that have lost material and need refilling.
Common mistakes
No fall away from the building. Water pools against the wall, soaks into the substrate and can cause damp issues inside. Build the 1-2 degree fall into the base, not just hoping it will work out.
Inconsistent joint width. Gaps that vary from 1 mm to 6 mm look unprofessional and the jointing sand sits unevenly. Use spacer nibs or work to a visual standard.
Tapping too hard. A heavy hit drives the paver below the surrounding plane and cracks the corners. Tap firmly, check level, tap again if needed.
Skipping the second compaction. Jointing sand needs to be vibrated into the joints, not just swept in. Without the second compaction pass, the joints stay loose and the sand washes out at the first rain.
Using builder’s sand for jointing. Builder’s sand is too coarse and the wrong angularity. Use proper kiln-dried jointing sand or polymeric jointing sand.
Laying pavers: FAQ
How long does paving last before needing rework?
Properly bedded paving with compacted base and full jointing sand will sit true for 15 to 30 years before any significant rework. Issues that surface earlier (sinking, lifting, gaps opening) almost always trace back to base preparation rather than the pavers themselves.
Can I lay pavers on grass or soil directly?
Stepping stones for ornamental use, yes. Any paved area subject to foot or vehicle traffic, no. Pavers laid directly on soil sink unevenly, weeds grow through the joints and the surface becomes a trip hazard within a year.
How often do I need to top up the jointing sand?
Standard kiln-dried jointing sand needs topping up annually, particularly after heavy rain or pressure washing. Polymeric jointing sand can last five years or more between top-ups, depending on traffic and weather exposure.
Newsletter
Follow the build
One documented Coorparoo project - the costs, the approvals, the calls we would reverse. Lessons that translate, straight to your inbox.