How to Paint a Room: Cutting In and Rolling
A painted room that looks professional comes down to three things: a properly prepared surface, the right brush and roller technique and respecting drying times between coats. The detail below is what separates an even finish from one that streaks under direct light.
This article assumes the walls are prepared and primed. If you are starting from bare plaster or a wall that has not been cleaned, read how to prepare an interior wall for painting first.
Tools and materials
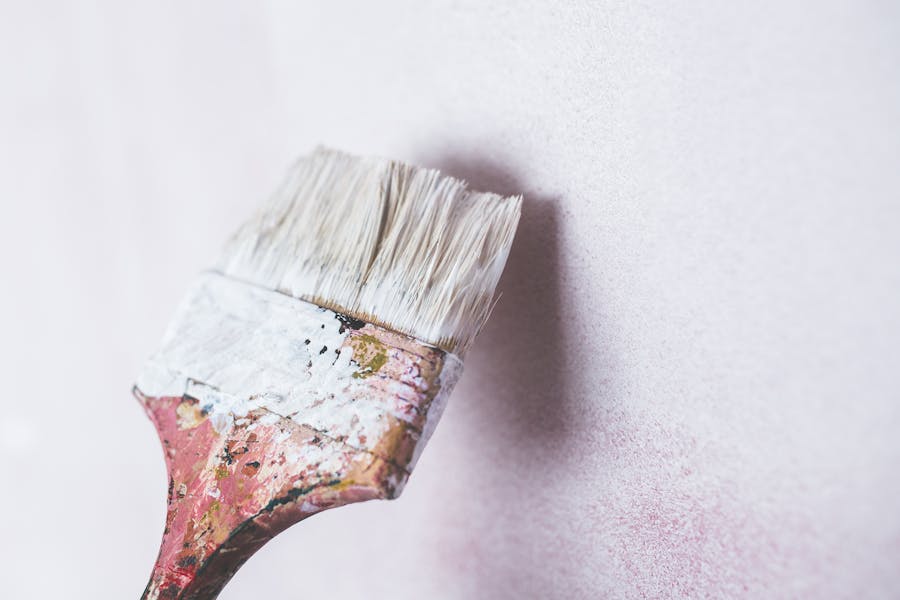
- Quality angled cutting-in brush, 50-60 mm
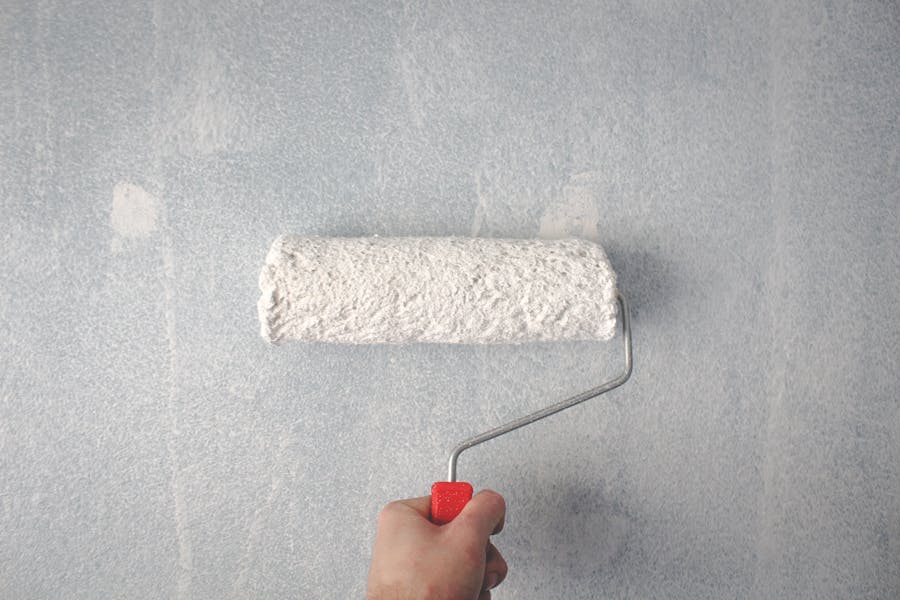
- 230 mm roller frame and microfibre or short-nap sleeve (10-12 mm nap for flat surfaces, 18-20 mm for textured)
- Roller tray and liner
- Paint stirring stick
- Painter’s tape
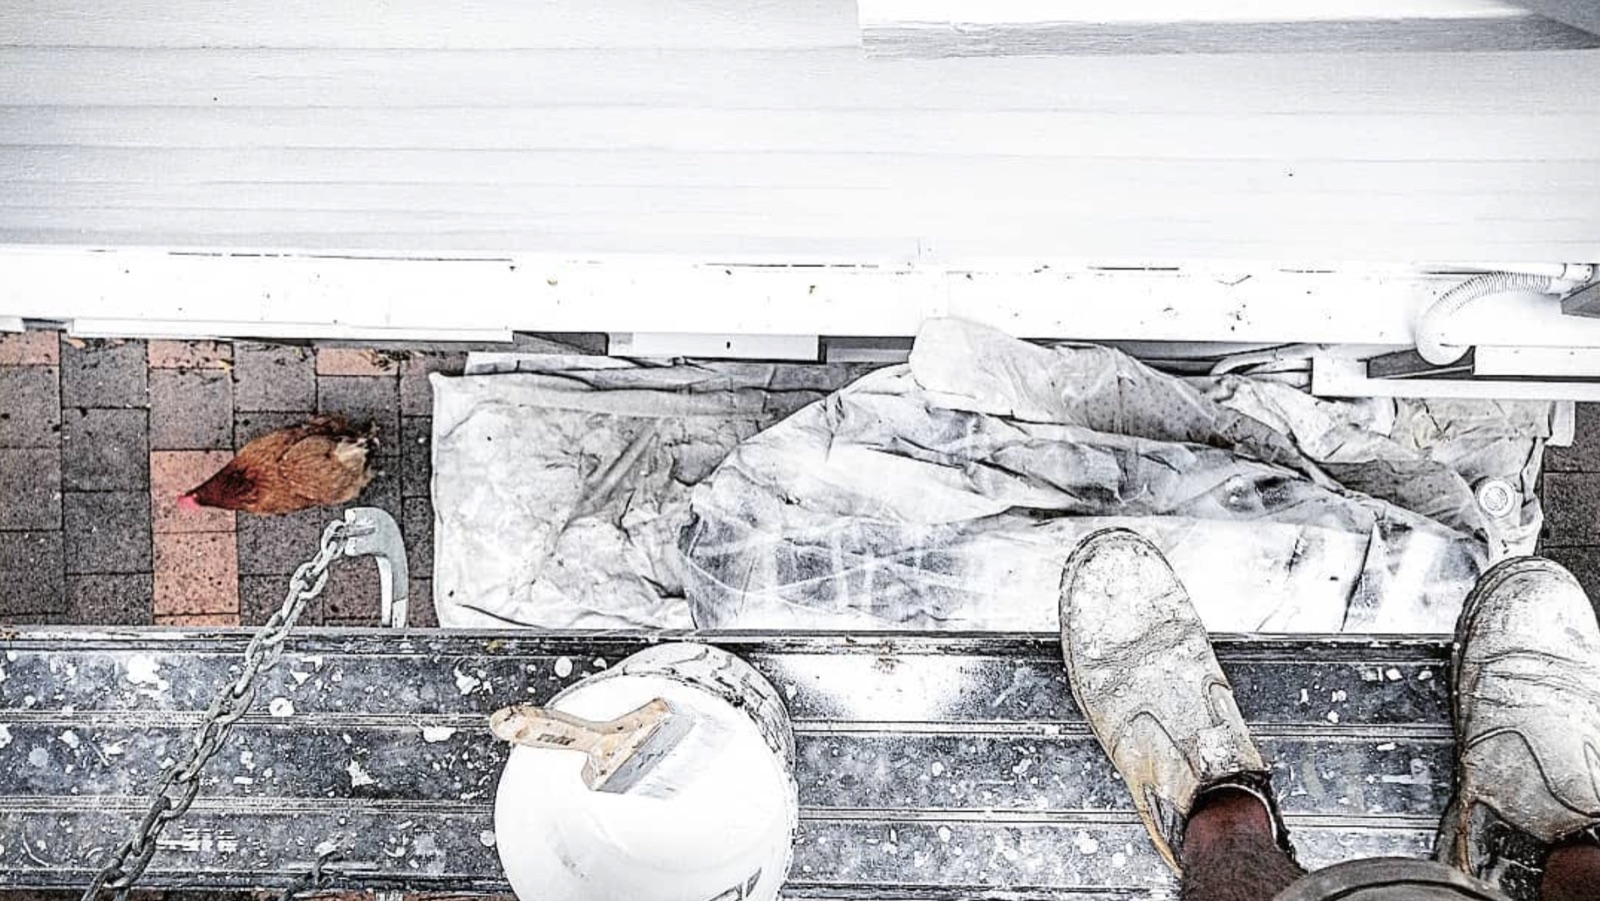
- Drop sheets
- Step ladder
- Paint: enough for two coats plus 10 percent contingency
Step 1: Mix the paint
Shake the tin first to mix the pigments off the bottom, then open and stir thoroughly with a stick. Paint that has sat in the shop for months has heavier pigments at the bottom. Stir for two full minutes - more for darker or accent colours.
If you are using more than one tin of the same colour for one room (a “box”), pour both tins into a larger bucket and mix together. This prevents subtle batch-to-batch colour variation showing up as a vertical seam mid-wall.
Step 2: Cut in first
“Cutting in” means using a brush to paint a clean band along edges that a roller cannot reach: ceiling-to-wall junction, wall-to-skirting, wall-to-architrave and around switches and outlets.
Load the brush by dipping the bristles in about a third of the way and tapping (not wiping) the excess against the tin’s rim. A wiped brush is under-loaded and will leave brush strokes.
Cut in a band 50-80 mm wide along the edge. Work in sections roughly a metre long, so the cut-in stays wet when you bring the roller across.
Step 3: Roll the wall
Load the roller by rolling it back and forth in the paint tray until the sleeve is evenly coated. Roll it off on the tray ridges to drop excess, otherwise the first stroke on the wall dumps paint at the top.
Start in the corner you cut in. The technique is:
- Roll a large W shape (or M) about a metre wide
- Without reloading, fill in the W by rolling vertically across what you just laid down
- Lay off with light vertical strokes from top to bottom to even the texture
- Move to the next section, slightly overlapping the wet edge of the last one
Keep a wet edge. If the previous section starts to dry before the next one meets it, you will see a visible line where the two batches met (called “lapping”).

Step 4: Let it dry
Read the label. Most water-based wall paints are touch-dry in two to four hours and recoatable in four to six. In humid Brisbane conditions, double those times. A coat that feels dry, but is not fully cured will lift when the next coat goes over it.
Step 5: Second coat
Same technique. Cut in, then roll, wet-on-wet, one wall at a time. Most colours need two coats. Some deep colours (strong reds, dark blues, charcoals) need three.
Step 6: Pull the tape while paint is still tacky
Remove painter’s tape at a 45-degree angle while the paint is still slightly damp - usually 30 to 60 minutes after the last coat. Pulling tape after the paint has fully cured will peel a strip of paint with it.
Common mistakes
Cutting in the whole room before rolling anything. The cut-in dries and shows as a frame around each wall under raking light.
Loading the roller too heavy. Causes drips, sags and an uneven film. Roll it off on the tray ridges.
Working in direct sunlight. Paint dries too fast to keep a wet edge. Close blinds or paint that wall later in the day.
Skipping the lay-off stroke. Without a final light vertical pass to even the texture, the roller pattern shows under sheen finishes.
Pouring paint back into the tin. Used paint carries dust and brush fibres. Keep working paint in the tray and tip leftovers into a sealed jar for touch-ups, not back into the main tin.
Order of work in a room
For a full room, the conventional order is:
- Ceiling first (cut in then roll, two coats)
- Walls second (one wall at a time, cut in then roll, two coats)
- Trim and doors last (skirtings, architraves, doors, windows)
Doing ceilings first means roller spatter onto the walls gets covered by the wall paint later. Doing trim last means any wall paint that crept onto trim during cut-in is hidden under the trim’s final colour.
Painting a room: FAQ
How much paint do I need?
A litre of water-based wall paint covers roughly 12-16 square metres per coat depending on the substrate. Measure the wall area (length times height, minus large openings) and double it for two coats. Buy 10 percent more than the maths says to cover touch-ups.
What is the difference between matt, low-sheen and semi-gloss?
Matt absorbs more light and hides surface imperfections, but marks more easily. Low-sheen (or eggshell) gives a soft glow and wipes clean better. Semi-gloss reflects more light, is the easiest to wipe down and shows every surface flaw. Use matt or low-sheen on living area walls, semi-gloss on trim and wet area walls.
Can I use one paint for the ceiling and walls?
Yes, if the colour is the same. But ceiling-specific paints are usually flatter and formulated to dry without showing roller marks at unusual viewing angles, which matters more on a ceiling than a wall.
Newsletter
Follow the build
One documented Coorparoo project - the costs, the approvals, the calls we would reverse. Lessons that translate, straight to your inbox.